In This Article
This post may contain affiliate links. If you make a purchase through links on our site, we may earn a commission. And if you do that, you are AWESOME!!! Thanks :)
We love a Hygge, cozy Christmas! And it doesn’t get much cozier than reverting to a childhood favorite, the Salt Dough Ornament. Remember those cutesy homemade ornaments you crafted in school or at your Grandma’s kitchen table? Now… just what was that Salt Dough recipe again… Hold your reindeer, we’ve got it for you!
This is the perfect Holiday family project because it’s easy, you can get creative, and while you’re working your Salt Dough Ornament recipe magic and its baking, you can watch your favorite Christmas movie!
There’s so much holiday fun in store; we can’t wait to dive right into it. First, we’ll go over the ingredients and materials you’ll need for your Salt Dough Ornament, next we’ll walk through the 4 easy steps in crafting your Salt Dough Ornament, and last but not least, we’ve got some fun ideas to jazz your DIY ornaments up!
It’s time to put on that Christmas playlist or ignite the fake fireplace on YouTube– it’s Christmas Crafts Salt Dough Ornament time!

Salt Dough Ornament Recipe
Don’t you hate it when you find the perfect project or recipe and you get into it, you’re committed, but then you realize you don’t have everything you need right up front? Whelp, I’ve been there, and we most certainly don’t want you to be in that position! So, let’s get those merry bases covered immediately.
Here are the ingredients and materials you’ll need for your Salt Dough Ornament!
Ingredients
- 1 Cup Salt
- 1 Cup Flour
- 1/2 Cup Water
Materials
- Rolling Pin (Optional, you can use your hand to also flatten the dough)
- Cup/Cookie Cutter (To cut out Salt Dough Ornament in the desired shape)
- Straw (As hole punch for Salt Dough Ornament)
- Aluminum Foil/Parchment Paper
- Paint colors of choice
- String/Ribbon (For hanging Salt Dough Ornament)
Easy peasy! You likely have these ingredients and items in your kitchen or craft drawer. Still, it’s always nice to have everything you’ll need upfront before you pour your time and energy into it. Your time and energy are valuable, especially around the busy holidays!

How to Make Salt Dough Ornament
Now that we know what we need and have it all out on the counter or table, we can get into the nitty-gritty. How in the St. Nick do you make a Salt Dough Ornament?
In these straightforward and easy-to-follow four steps, we’ll get you to your DIY ornament haven, and you’ll have plenty of festive fun along the way! We also want to take this time to thank the happy paws over at Florenceville Veterinary Clinic for sharing this super fun and festive Salt Dough Ornament recipe!
Why, you may even have a new Holiday family/friend tradition on your hands; how fun and exciting!
“I thought maybe we could make ginger bread houses, and eat cookie dough, and go ice skating, and maybe even hold hands.”
Elf, 2003
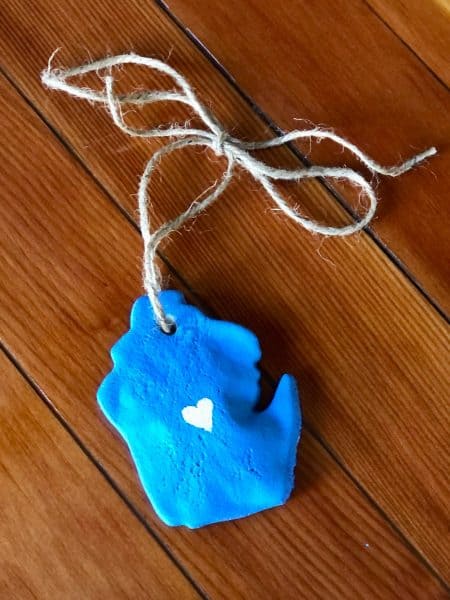
Step One: Mix Ingredients & Kead Dough
Grab your 1 Cup and 1/2 Cup measuring utensils, your Salt, Flour, and Water, and head over to your mixing bowl/mixer.
Combine the 1 Cup Salt, 1 Cup Flour, and 1/2 Cup Water in a bowl and mix them! You’ll want to continue mixing until the dough forms and becomes firm.
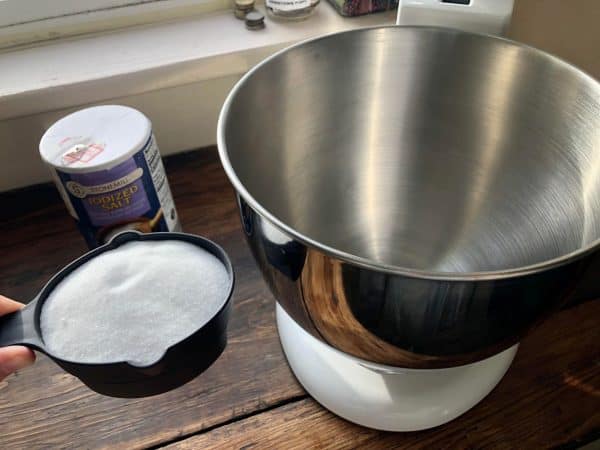
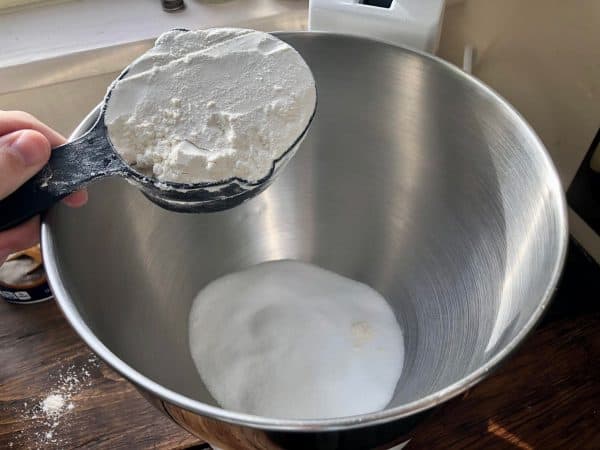
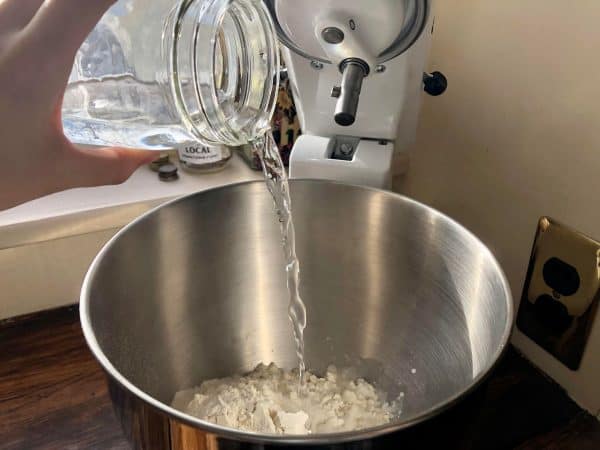
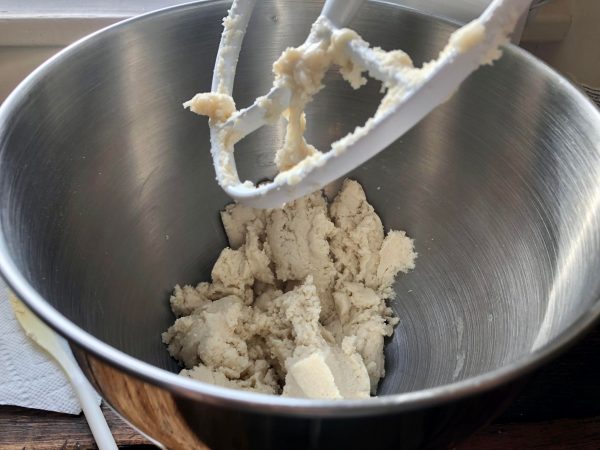
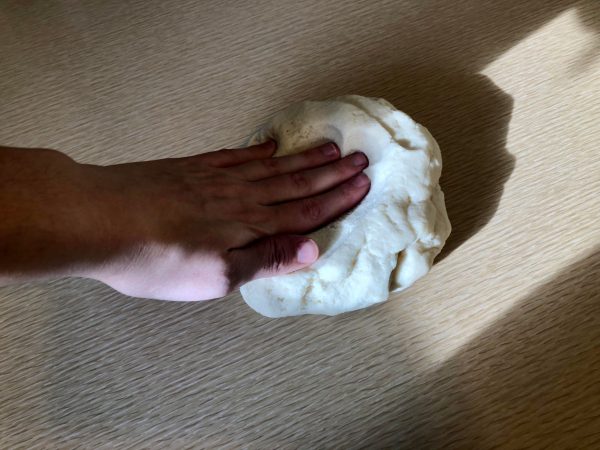
Once the dough is firm, you can take it out of the bowl and begin to knead it for about 30 seconds or so. Kneading is like massaging the dough so you can easily work with it and get some more of those air bubbles out.
Pro Tip: Before you start getting your bake on, set your oven up for success and Preheat it to 200 degrees!
Step Two: Cut Salt Dough Ornaments & Imprint Design
Using your hands or a rolling pin, get the dough ready for some shaping and cutting!
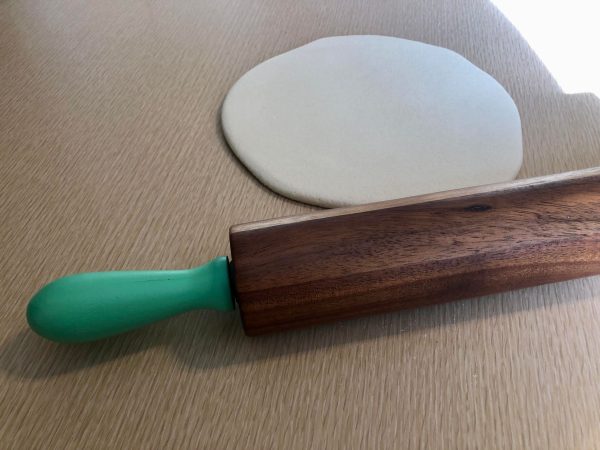
If you’re using a rolling pin, do not make the dough super thin, or you’ll have a very fragile Salt Dough Ornament. You may also want to add some flour to the surface so the dough doesn’t stick too much!
Cut your dough into the ornament shapes you’d like (check out the last section of this article for some fun shapes and design ideas!) and make your cutesy impressions into the dough.
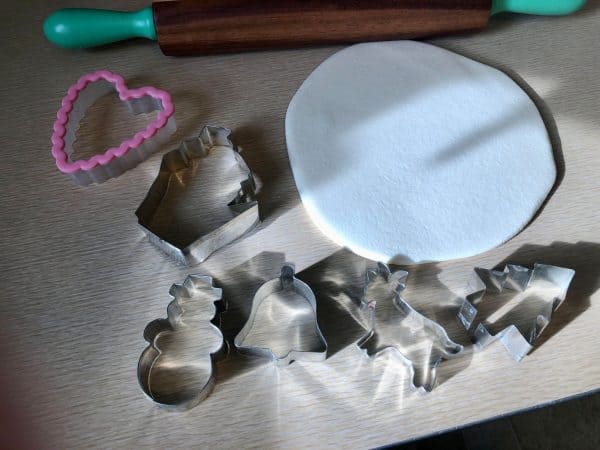
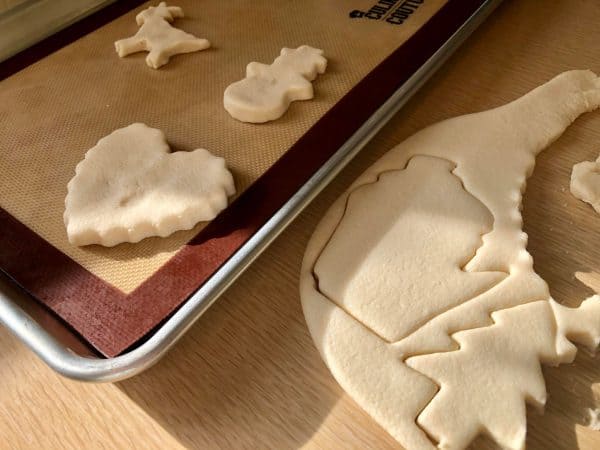
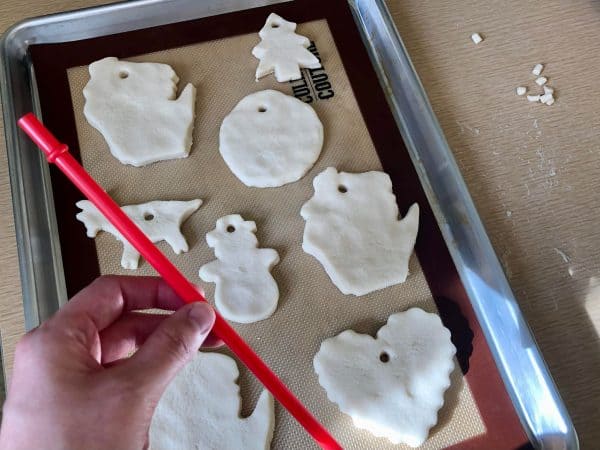
Ensure you leave enough space near the top of your ornament to poke a hole through with a straw. This will be where you slide in your string/ribbon after your Salt Dough Ornament is finished baking/cooling/drying!
Pro Tip: Don’t poke your hole too near the top of your ornament; you don’t want to make it too fragile or have an accidental break.
Step Three: Bake Salt Dough Ornament
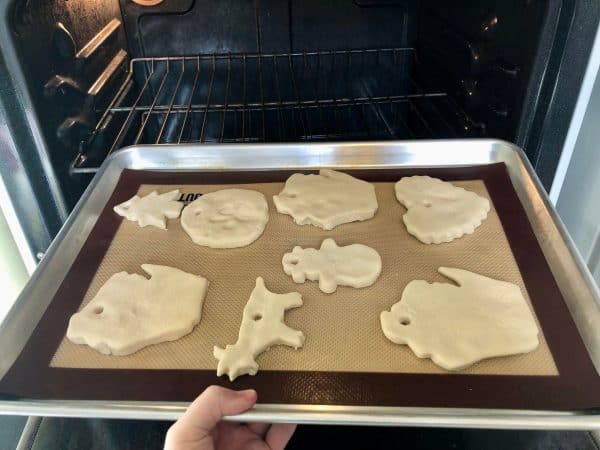
Hopefully, by step 3, if you followed the Pro Tip in step 1, your oven will be preheated to 200 degrees, and your Salt Dough Ornament will be ready to bake!
Oven Temp: 200 Degrees
Bake Time: 2-3 Hours (Salt Dough Ornament should be completely dry; begin checking on it at the 2-hour mark)
2-3 hours can be a long time for a group gathering, craft time with the kiddos, or even chilling by yourself to be waiting on the fun and exciting part of the Salt Dough Ornament project– decorating!
So, what should you do while you’re waiting for your ornaments to bake? We’ve got some ideas!
- Watch a Christmas Movie
- Build a Snowman/Snow Angles in the Yard
- Get into the Hygge Christmas spirit
- Holiday Karaoke
- Play Holiday Games
- Make more homemade Ornaments!
- Exchange Gifts
- Go Sledding (Someone can stay behind and be on Salt Dough Ornament duty)
You can also take this time to incorporate your own family/friend Holiday traditions and talk about how you want to decorate your Salt Dough Ornament!
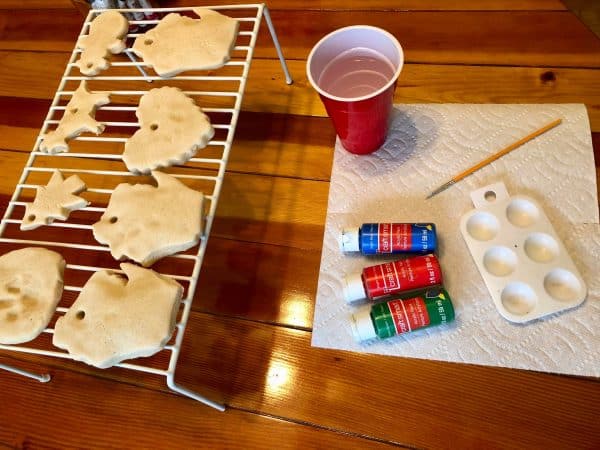
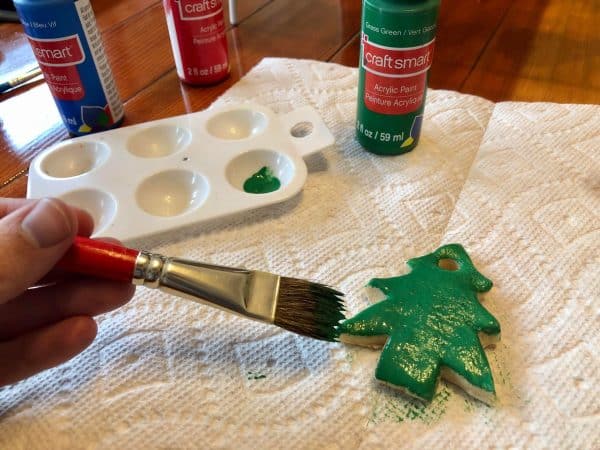
Step Four: Allow the Salt Dough Ornament to Cool & Decorate/Hang Up!
Once your ornaments are done baking (Isn’t that a funny way to start a sentence?), let them cool off before you begin decorating. If your ornament is still hot and you’re trying to decorate it, the decorations may not stick and will be uncomfortable to handle.
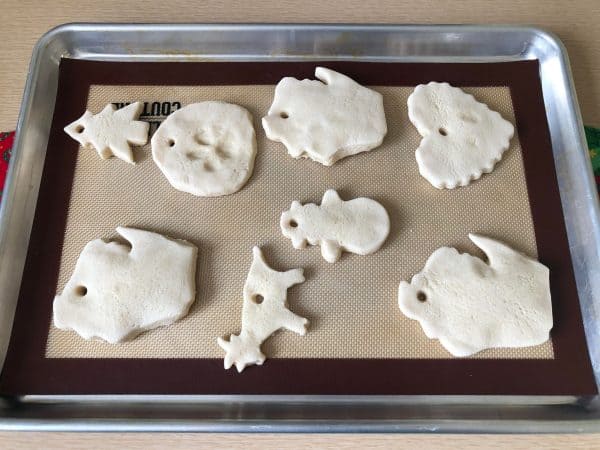
While waiting for your Salt Dough Ornament to cool off, you can plan how you want to decorate it!
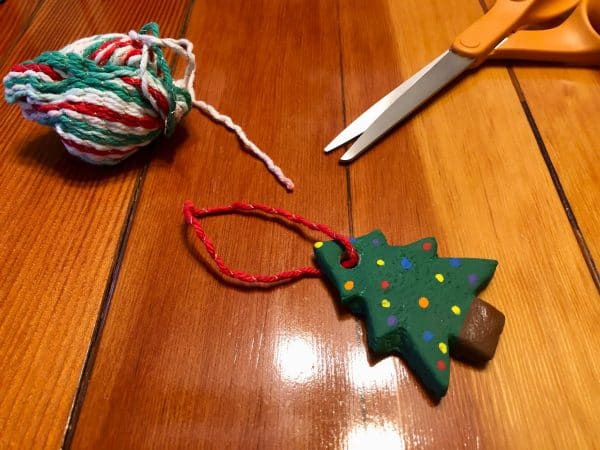
After the Salt Dough Ornament has cooled, you have gotten to felx that merry creativity, and your ornament has had time to dry, you can slip some string/ribbon through the hole and hang it up!
Wasn’t that a straightforward and lovely Holiday DIY to follow? And it never gets old; you could do it every year if you wanted!
Fun Salt Dough Ornament Ideas
Are you seeking festive inspiration and creativity for your Salt Dough Ornament project? Here are some fun ideas I cooked up and have been looking forward to sharing so that your Salt Dough Ornament experience can be super cute and enjoyable!
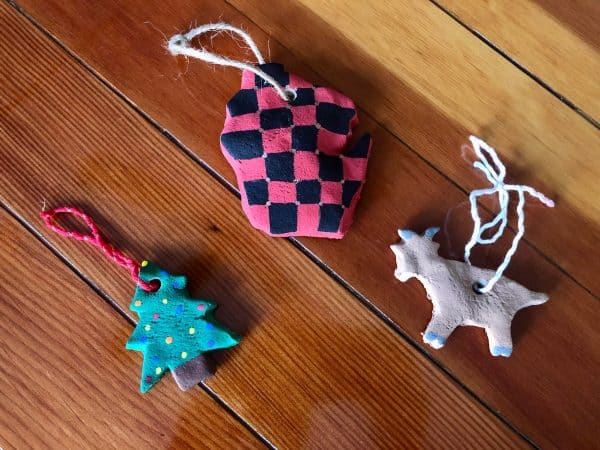
One of my favorite fun ideas for the adorable Salt Dough Ornament DIY is to use a cookie cutter to shape them! There are so many options; it can help you decorate if you’re running short on ideas. For example, if you have a cookie cutter in the shape of Santa, you can then paint it like Santa! Easy and cute!
Impression Ideas for Salt Dough Ornament:
- Kiddo’s Hands/Finger Prints
- Pet’s Paw Print
- Leaf/Flower
- Rubber Stamp
- Wedding Rings
- House Key (1st Christmas in New House!)
- Finger Prints in the shape of a heart
There are TONS of possibilities for impressions on your ornament; honestly, the limit is your festive imagination! These can also make for some lovely gifts!

More DIY Holiday Crafts
When you think of the cheery Holidays, do arts and crafts pop into your head? Then you’re going to LOVE these fantastic and fun Holiday crafts we have to offer alongside the cutesy Salt Dough Ornaments you just read about!
Accompanying the Salt Dough Ornament recipe DIY, we have an array of fun and festive projects you can do by yourself or with the ones you love. Make it a fun-filled, cozy weekend with hot cocoa and crafts with these DIYs below!
The month of December certainly flies by, but it’s our hope here at Repurpose Junkie that you get those special crafting moments with the ones you love to make the Holiday season feel longer and more enjoyable.
May your Winter Season be cozy, safe, and creative, and your Salt Dough Ornaments hang high and bright. Happy Holidays!
