In This Article
This post may contain affiliate links. If you make a purchase through links on our site, we may earn a commission. And if you do that, you are AWESOME!!! Thanks :)
It’s the holiday season, and a custom ornament would look marvelous on your or a loved one’s lit-up tree!
With your handy-dandy punch needle, you can craft an adorable personalized Christmas ornament that would make the perfect gift or a special touch to your beloved holiday decor.
Our Letter Ornmanet DIY contains 6 beginner-friendly steps that are fun, simple, and gratifying!
New to Punch Needle? No worries at all. In the section below, we’ve listed all of our Punch Needle guides to help you along the way.
Put on that fireplace ambiance or your favorite Christmas movie; it’s time to craft a custom ornament!

Punch Needle Guide
Whether you’re new to Punch Needle or you need a refresher, we’ve got the perfect guides ready for you to explore below.
As someone who has taught themselves how to Punch Needle through trial and error and help from Professor YouTube, it’s been a delight to share that knowledge and keep the super fun Punch Needling hobby circulating.
We have an entire section of Punch Needle goodies, including free patterns, but below is a list of strictly how-to-type guides.
Now that we’ve got our handy-dandy Punch Needle resources and we’re feeling ready to go, we can get into the fun part. Creating our very own custom ornament!
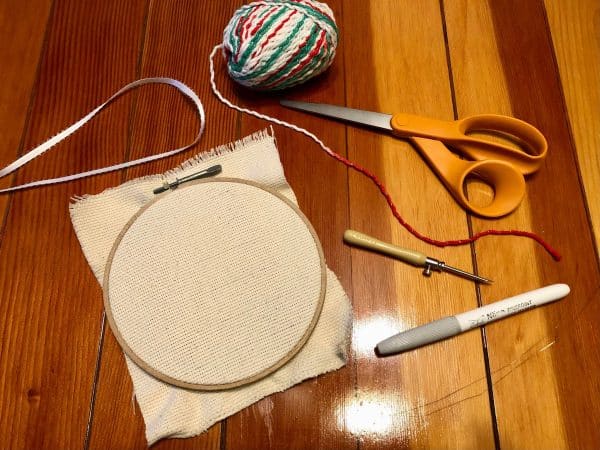
Supplies for Custom Ornament
Before diving into our Letter Ornament steps, let’s cover what supplies we’ll need.
If you’re a regular Punch Needler, you most likely have most, if not all, of these supplies! Hooray!
- Punch Needle
- Wire Threader
- Monks Cloth
- Embroidery Hoop
- Yarn (Color(s) depend on personal preference for custom ornament)
- Fabric Scissors
- Fabric Marker (or Sharpie)
- Ribbon
- Felt Backing (Not pictured)
- Hot Glue Gun (Not pictured)
Letter Ornament Steps
Our fellow Punch Needlers, the personalized Christmas ornament steps have arrived! And I have all the crafty confidence that you can make your very own beautiful and adorable Letter ornament by following these 6 simple steps.
Do you want to make a different kind of ornament? Check out other Punch Needle DIY Ornaments for Christmas!
Step One: Ready Embroidery Hoop
After you’ve chosen what size you want your custom ornament to be, you can ready that Embroidery Hoop accordingly.
You’ll want to make sure of a few things when getting your hoop ready:
- Your Monks Cloth has a few inches of space outside of the hoop
- The Monks Cloth is taut throughout your punching process (Loose cloth will make it very hard to punch needle and can cause your loops to fall out)
- If you want the looped side to be your finished side (This is the fuzzy side; we will be using this side in the DIY), you need to flip your image before tracing
Once you have all of these things in mind and in practice, you can trace your design onto your Monks Cloth like in the photos below!

Pro Tip: Another reminder to flip your image when punching from the backside; otherwise, your design will turn out backward– we don’t want that!

Step Two: Thread Punch Needle
Look at that, you’re already onto the second step in your Letter ornament journey!
Let’s keep this festive Punch Needle party going by threading our Punch Needle with the yarn of your choice.
I’ve gone with a holiday yarn that has multiple Christmasy colors in it, but you can go with any color you desire! You can even do multiple colors, such as outlining the letter in one color and filling the rest in with another. Get creative with your custom ornament!
For my Letter ornament, I made my Punch Needle longer so that my loops would be more exaggerated. The longer your needle, the bigger your loops. For projects that have finer details, I would suggest making your loops smaller so that way your details don’t get lost in the loops.
Click here if you need threading assistance; I’ve got your back.
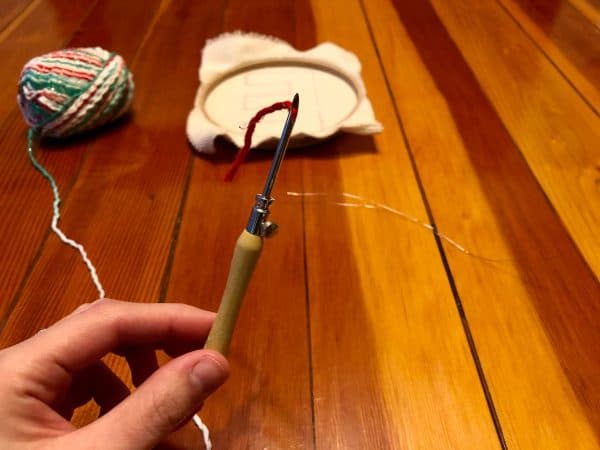
Pro Tip: One of the most valuable things to remember while you’re punch needling is to have plenty of slack at all times. If not, you may accidentally cause tension in your yarn, which can sadly make your loops fall out. To prevent this, just be sure that while you’re working on your personalized Christmas ornament, you have a good helping of yarn slack at your side.

Step Three: Punch Outline First, Then Inside Letter Ornament
It’s time for your custom ornament project’s fun and exciting part: punching that needle!
I would suggest first starting with the most minor details/outlines with most Punch Needle projects. This ensures that your details stay intact while you’re punching away at the majority of your project.
So, ready that Punch Needle, make sure you have a slack pile going, and start punching away at that outline!
Pro Tip: Punch your Needle in the direction you create your lines. When it’s time to make a turn in your punching, be sure to turn your hoop and needle with it.
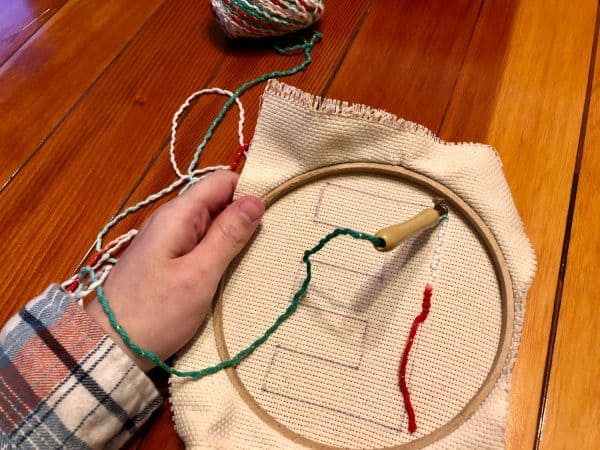

Huzzah! The outline for your Letter ornament is complete!
Now, you can snip the yarn on the front side (hold down the cut part as you slide your Punch Needle out so you don’t accidentally undo your stitch) and begin filling in the rest of your custom ornament!
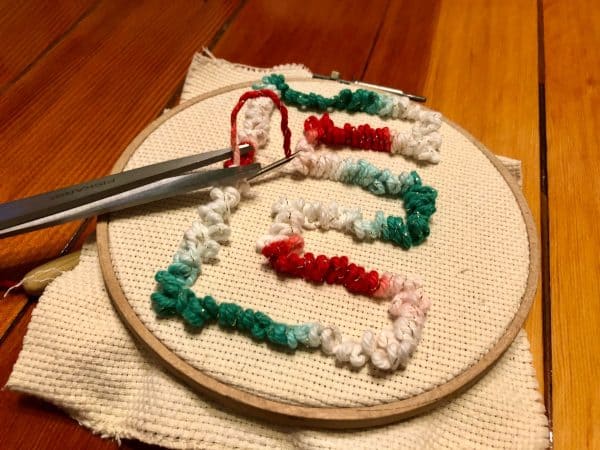

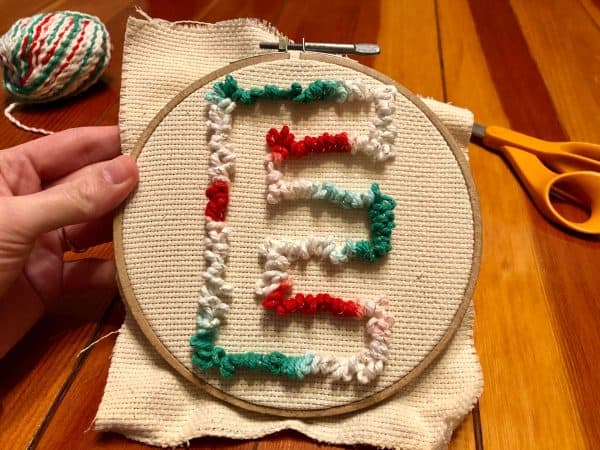
When filling in the rest of your Letter ornament, make sure you’re punching your stitches close together so your final product looks nice and full!


Step Four: Remove Hoop & Cut Monks Cloth
We’re in the home stretch of finishing our adorable personalized Christmas ornament! Take a hot cocoa break, and let’s keep on trucking.
Pro Tip: Before taking on Step Four, take a moment to plug in your Hot Glue Gun so it’s ready to go in the next step!
After all your stitches have been made, you can remove your Letter ornament project from the Embroidery Hoop and set it aside.
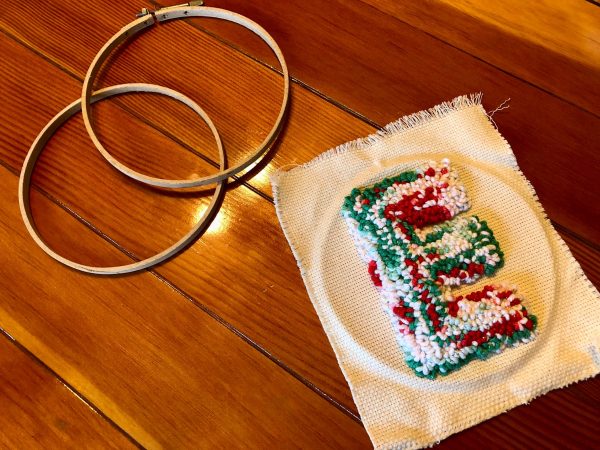
Get those Fabric Scissors ready; we’ll use them quite a bit in the following steps!
First, you can snip off the yarn tails on the backside of your custom ornament project.
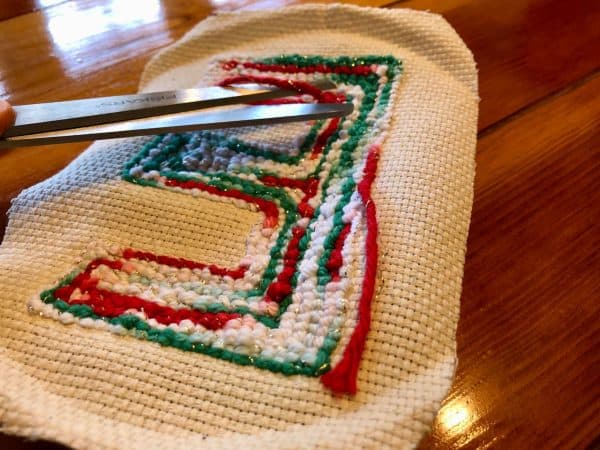
Once that’s done, you can now cut around your Letter ornament and leave a few inches of Monks Cloth bordering it. Just like in the photo below!
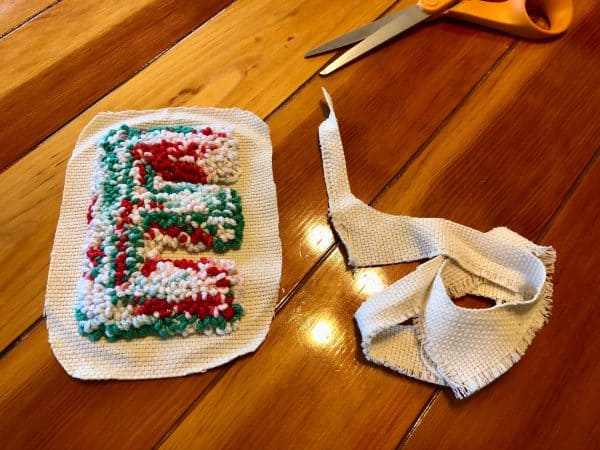
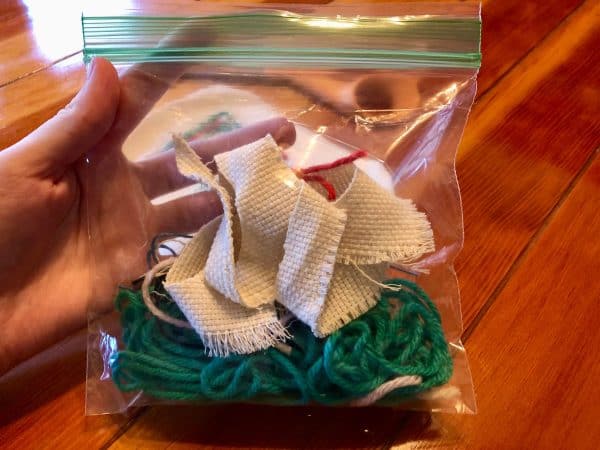
Get into the Repurposing Junkie spirit and save your Punch Needle scraps for other stuffing-like projects. Or for a friend who could use some stuffing for their projects; that’s what I do!
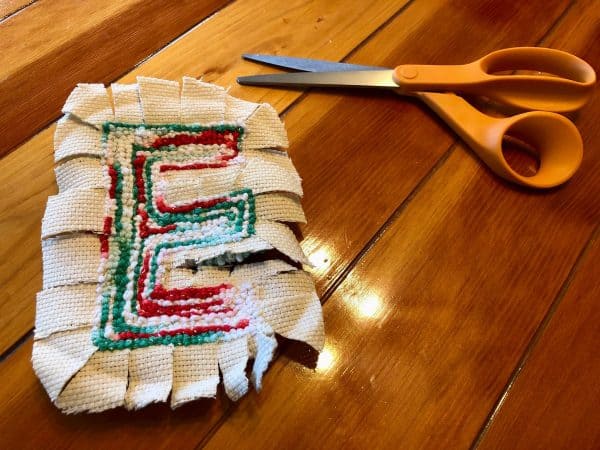
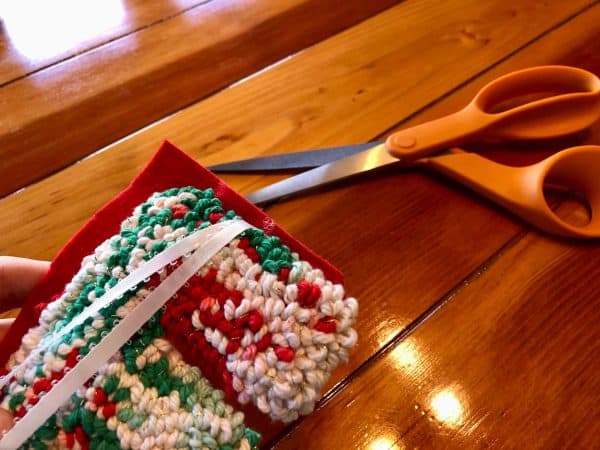
The last phase for step four is to use your scissors to snip the Monks Cloth into little tabs like in the photo below. I suggest cutting these with the front side facing you so you don’t accidentally snip off your lovely loops.
Step Five: Hot Glue Monks Cloth Tabs & Ribbon
Once your Hot Glue Gun is warm and ready, make sure you have a few glue sticks on hand, and let’s get to gluing.
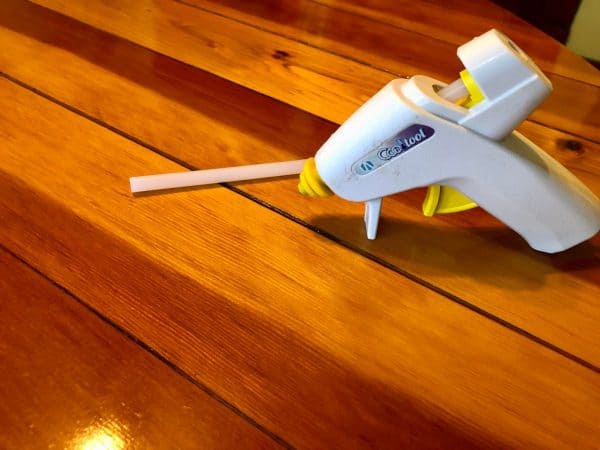
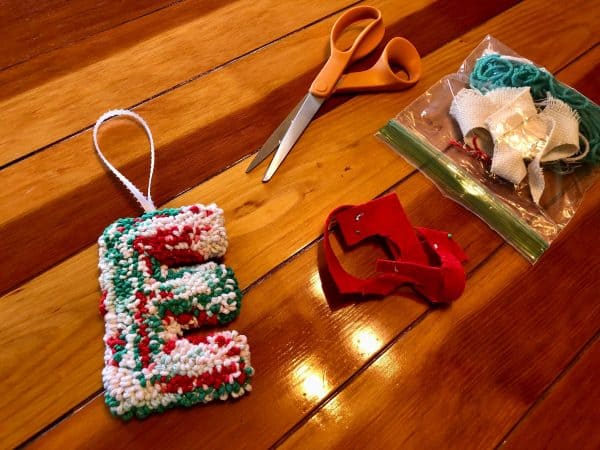
Carefully glue down all the tabs onto your custom ornament project’s flat stitch side, the back side.
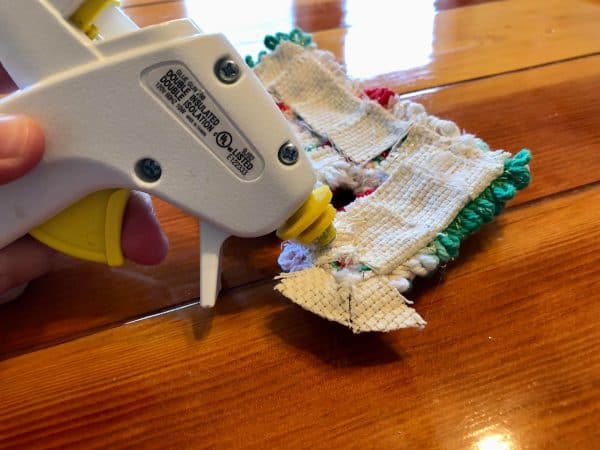
When you’ve finished hot-gluing down all the tabs, it should look something like this!
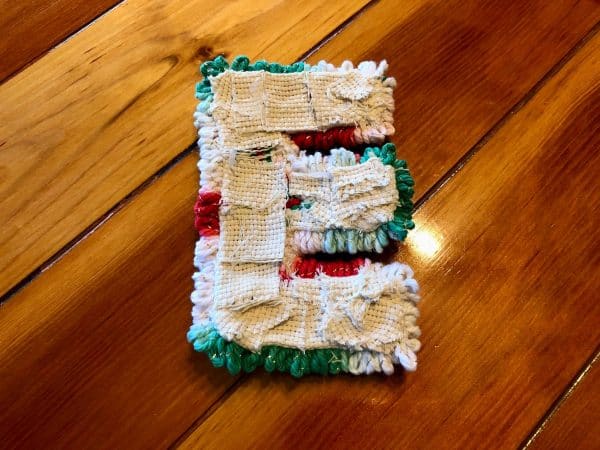
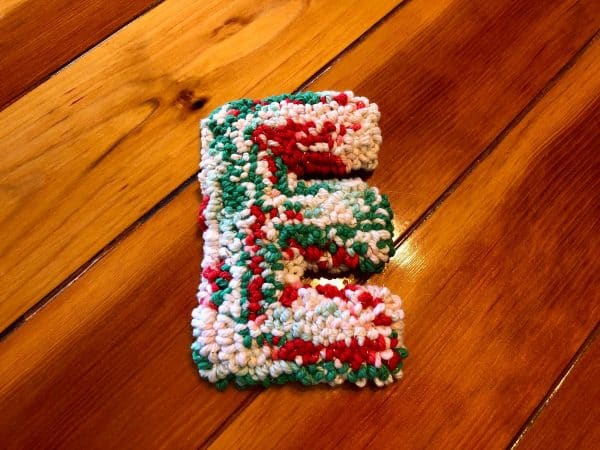
Now that your Monks Cloth tabs are secured down on the backside of your Letter ornament, you can break out the ribbon of your choice and create the hanging part of your personalized Christmas ornament!
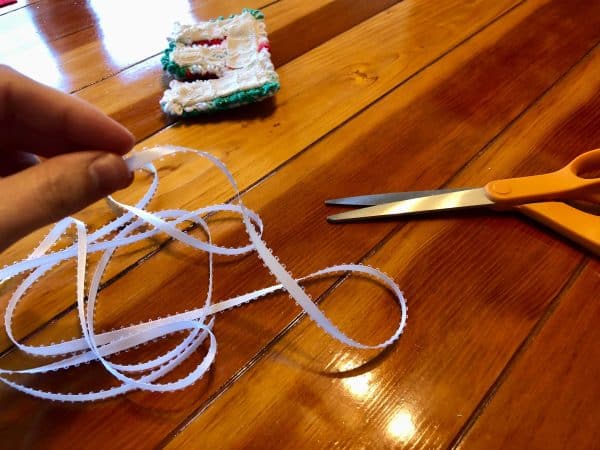
Depending on how long you’d like the hanging part to be, cut your ribbon accordingly and knot it at the end, cutting off any extra ribbon at the bottom of the knot.
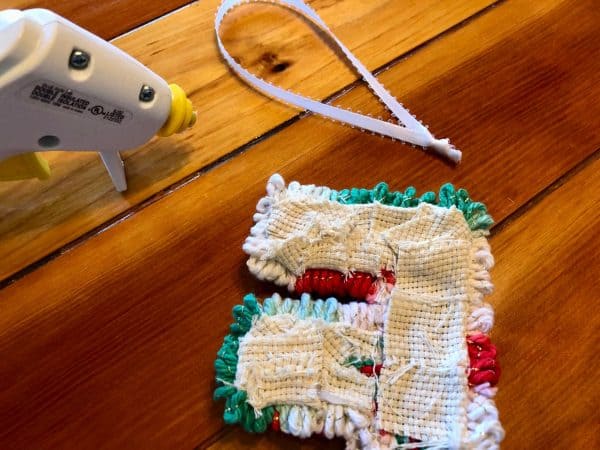
Hot glue your ribbon in the top center of your Letter ornament, leaving plenty of ribbon at the top for you to utilize.
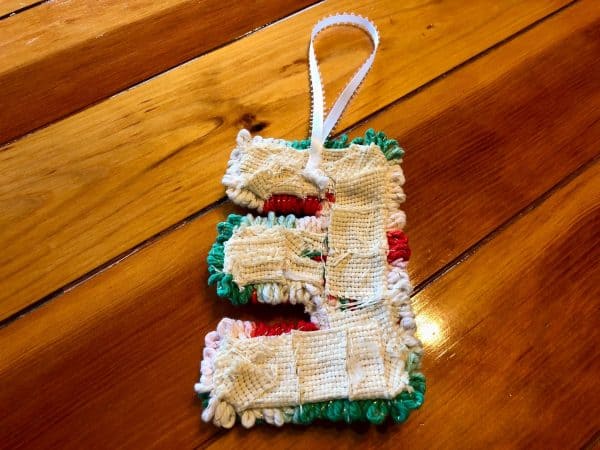
Step Six: Hot Glue Felt Backing & Cut Off Extra
Whoop whoop! We’ve reached the final step in our personalized Christmas ornament crafting journey; let’s finish this letter ornament up!
Set your Hot Glue Gun aside and pick out a felt backing of your choice for the back of your cutesy custom ornament.
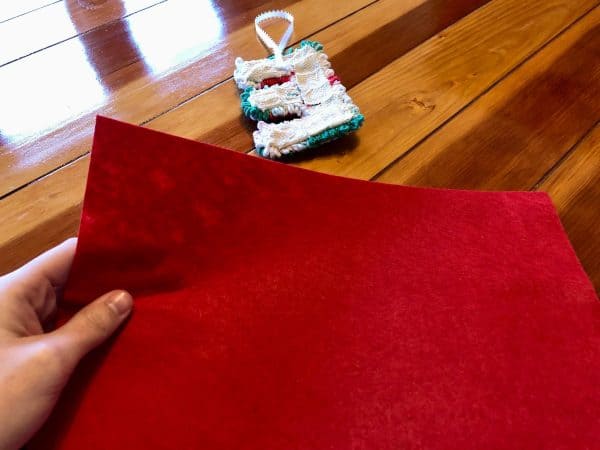
Next up, grab your Fabric Scissors and cut out a piece of felt backing that is slightly larger than your Letter ornament.
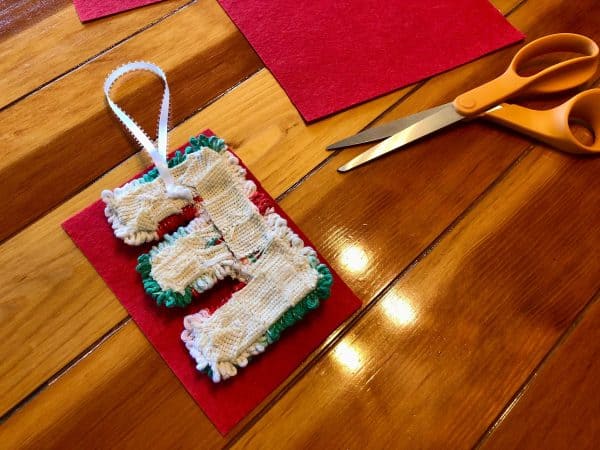
Get your Hot Glue Gun ready and prepare to glue down the felt to the backside of your custom ornament.
I would suggest starting by applying a few lines of glue in the largest space of your Letter ornament and pressing the felt down onto it. This is an excellent way to secure the felt, and you can continue gluing around your custom ornament project.
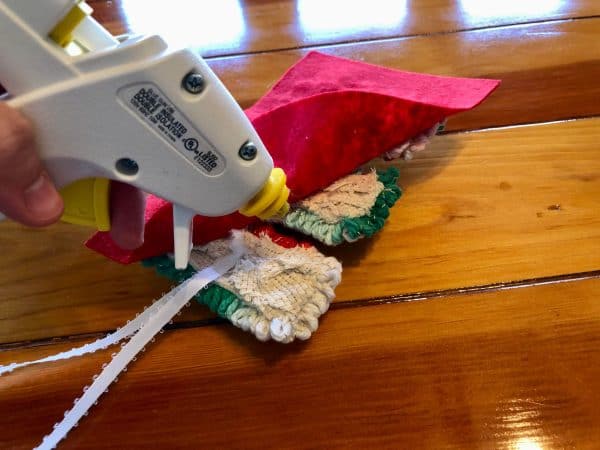
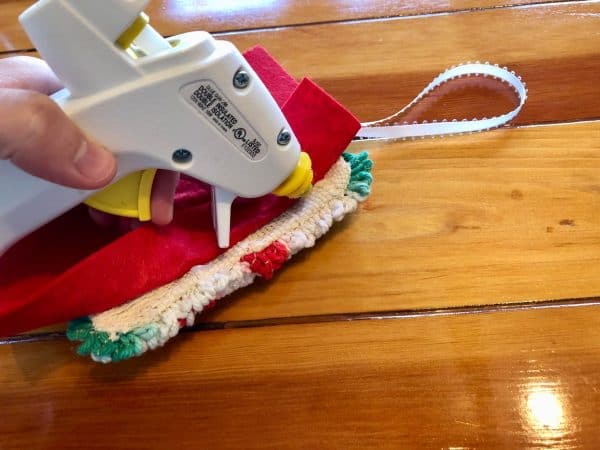
Keep on gluing away until the felt backing is entirely secure against your Letter ornament. Allow at least a few minutes to dry.
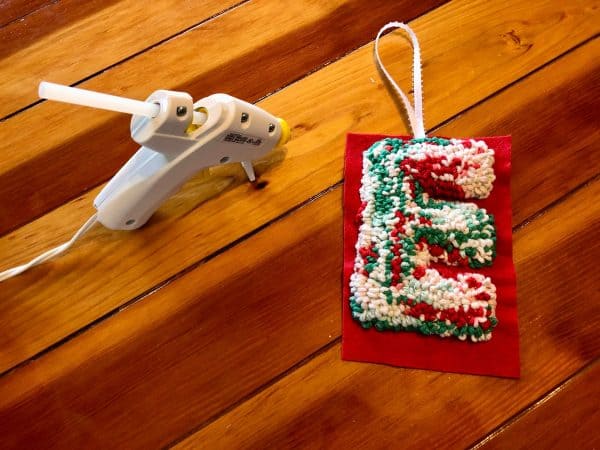
After waiting a few minutes for the glue to dry, you can take your scissors and carefully cut around the Letter ornament to remove the extra felt. It’s okay if your scissors snip a few loops on the edges; you can tidy up any loose ends at the end of your custom ornament project.
Pro Tip: When you come around to the ribbon side, hold it down onto the loops and ensure the scissors avoid the ribbon so you don’t accidentally snip it.
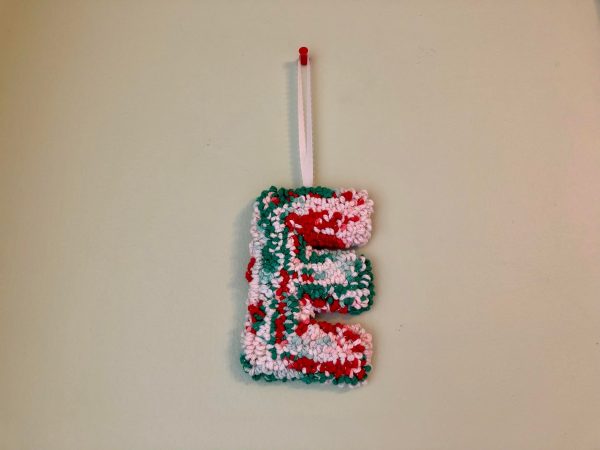
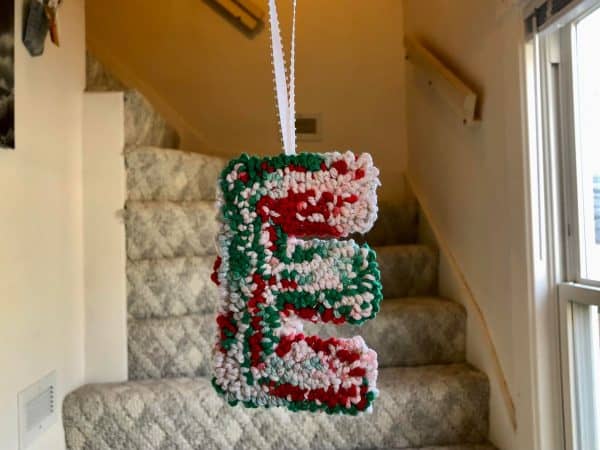
And look at that: you’ve completed an adorable Letter ornament with your punch needle and creativity!

More Fun Punch Needle Projects
Are you not ready for the custom ornament fun to come to an end? You’ll like the first Punch Needle project we have listed below, and be sure to check out the other Punch Needle goodies we have to offer. All for FREE!
Be sure to check out our other Christmas crafting fun to make your holidays even more remarkable and delightful. From all of us at Repurposing Junkie, we wish you a warm, cozy, and crafty holiday season!
