In This Article
This post may contain affiliate links. If you make a purchase through links on our site, we may earn a commission. And if you do that, you are AWESOME!!! Thanks :)
I picked this jewelry box up at a garage sale last weekend for $2!! Not too shabby, right? In this post I’ll be sharing How I Refinished a Jewelry Box Using Stencils.
I love a good upcycling project, don’t you? There’s something incredibly satisfying about taking an old, forgotten piece and breathing new life into it. I picked up this jewelry box at a garage sale last weekend for just $2—what a steal! I could already see the potential as soon as I spotted it on that old wooden table, just begging for a makeover. In this post, I’ll be sharing step-by-step how I refinished this jewelry box using stencils.
The Beginning of Something New
When I first brought the jewelry box home, it was a bit of a fixer-upper. The original finish was dull, the velvet lining inside was frayed, and the hardware, although charming, needed a little TLC. But hey, that’s all part of the fun, right?
The hardware was a beautiful aged brass, which was the first dilemma: do I leave it as is or give it a fresh coat of paint? I actually pondered this for a while because the worn look had some character. In the end, I decided to go bold and spray paint it black for a sleek, modern contrast. Spoiler: it was worth it!
Prepping for the Transformation
I knew I wanted to store hardware and other small accessories for future projects in this box, so it had to be functional as well as beautiful. The first step was sanding the whole thing down, which was oddly therapeutic. There’s something about smoothing out rough surfaces that feels like a fresh start.
After wiping off all the dust, I applied three coats of latex paint in an off-white color. (I had it leftover from another project—yay for reusing!) Pro tip: when working with intricate boxes like this, use a small detail brush for the edges and corners. Trust me, it’ll save you from touch-ups later.
Stencils Make All the Difference
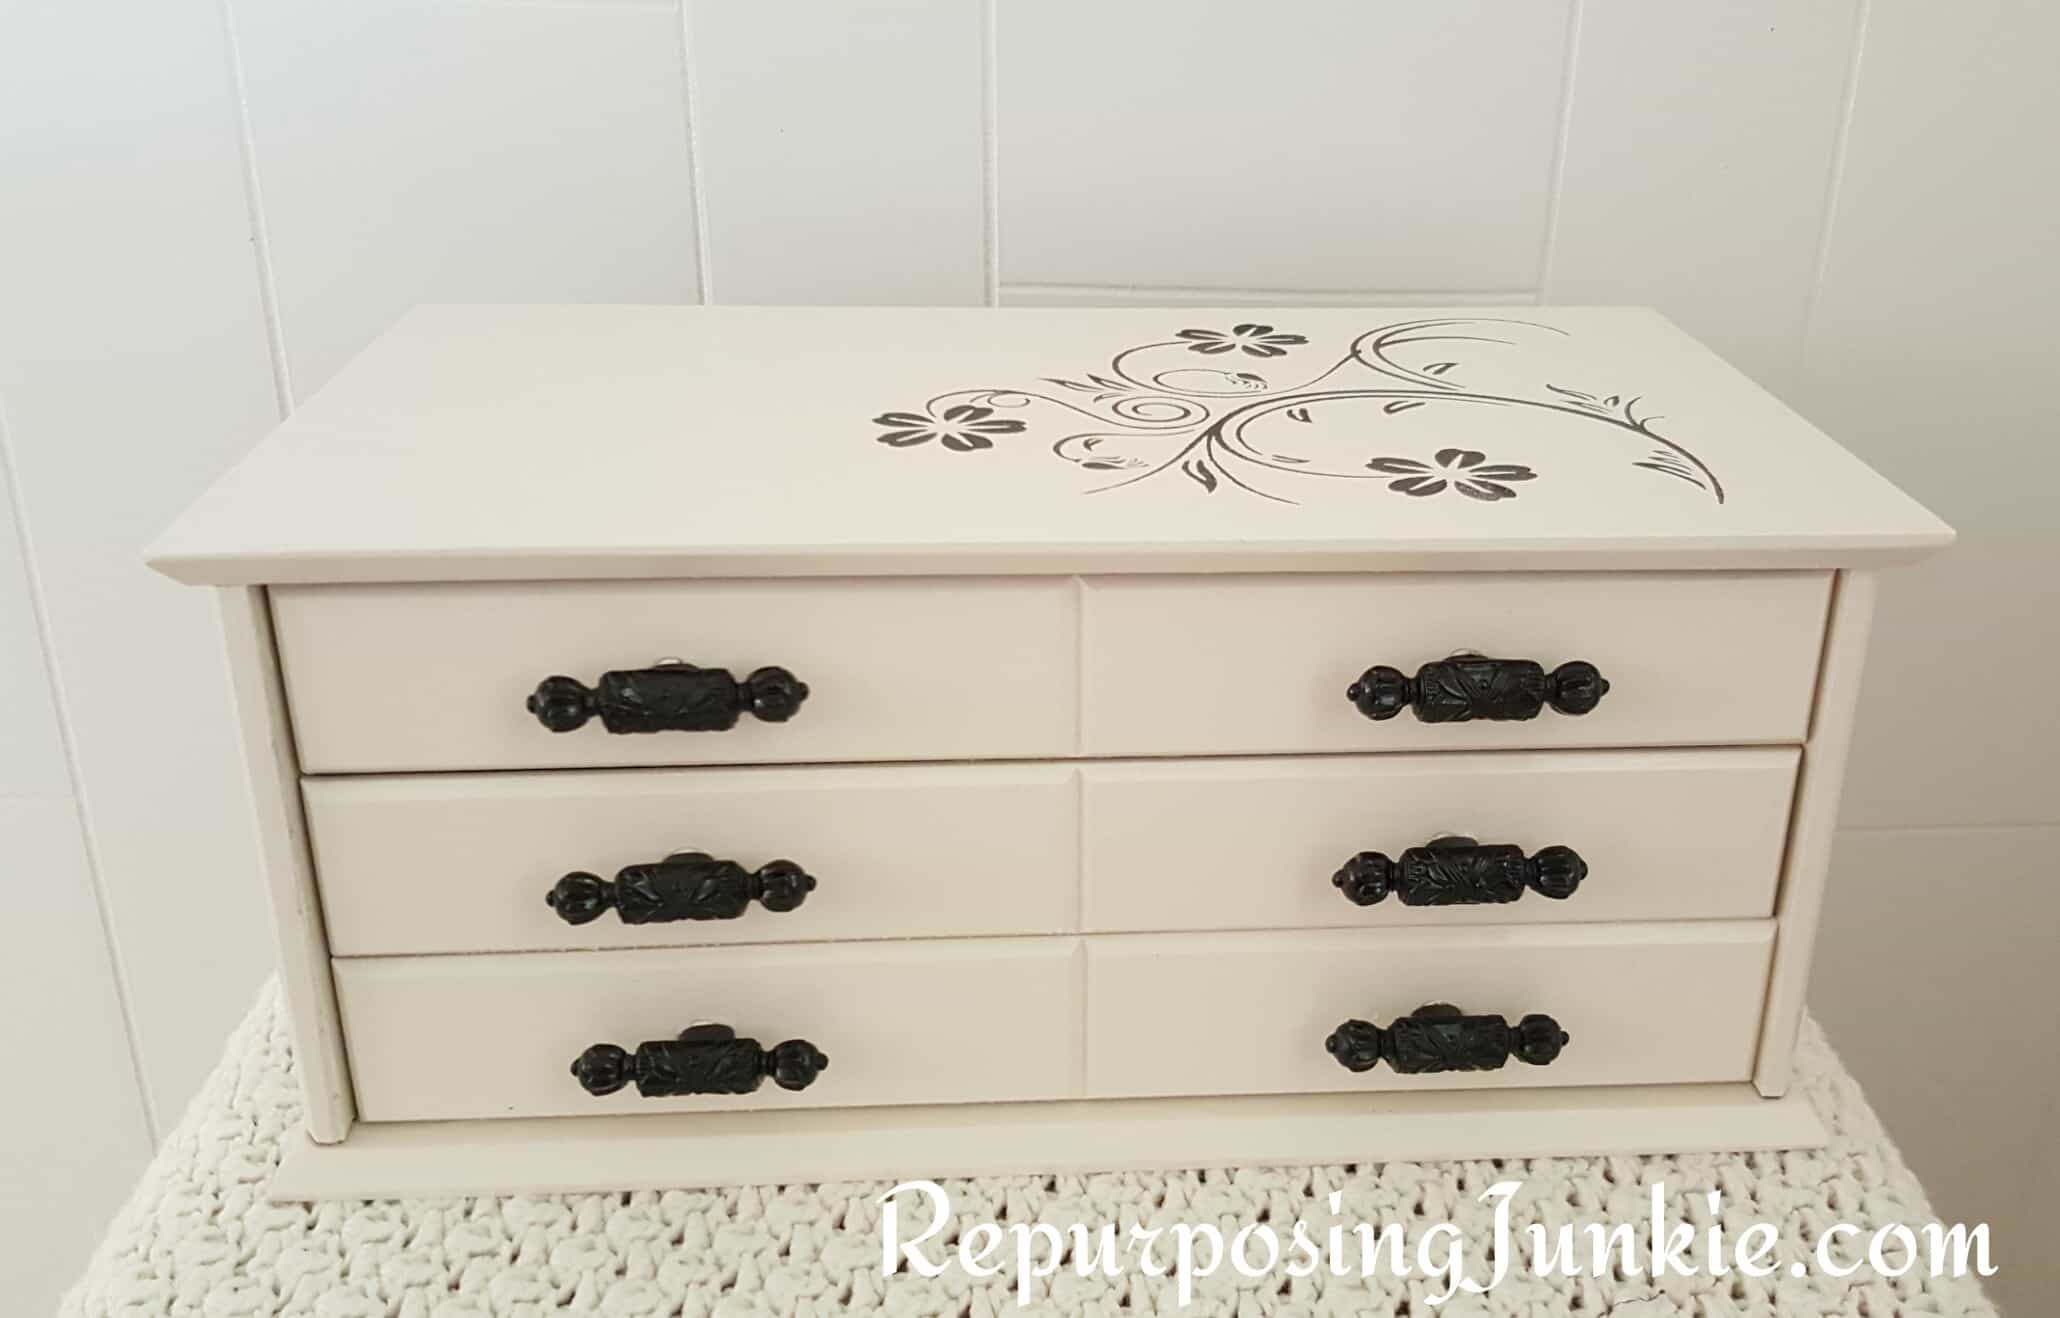
Now for my favorite part—stencils! I’ve always believed that stencils can take a plain, simple project and give it an extra “wow” factor. I used a classic floral stencil to add some delicate detailing to the top of the jewelry box. The trick to getting crisp stencil lines? Use a stencil brush (not a roller!) and dab, dab, dab—don’t brush it on like regular paint. It gives you much more control and helps avoid any paint bleeding under the stencil.
The black and white contrast on this box gave it such a chic, sophisticated look. It’s amazing how something as simple as a stencil can completely transform a piece.
Lining It Up
The inside of the jewelry box was lined with old, faded blue velvet. While velvet is luxurious, this was not the nice kind. It was worn, and frankly, it just had to go! I carefully removed the lining and replaced it with some wrapping paper I had on hand. To adhere it, I used a homemade mod podge mixture (half water, half white glue). Wrapping paper might not be the first thing that comes to mind for a lining, but it worked perfectly, and I love the playful pop of pattern every time I open the box.
Spray Paint Saves the Day
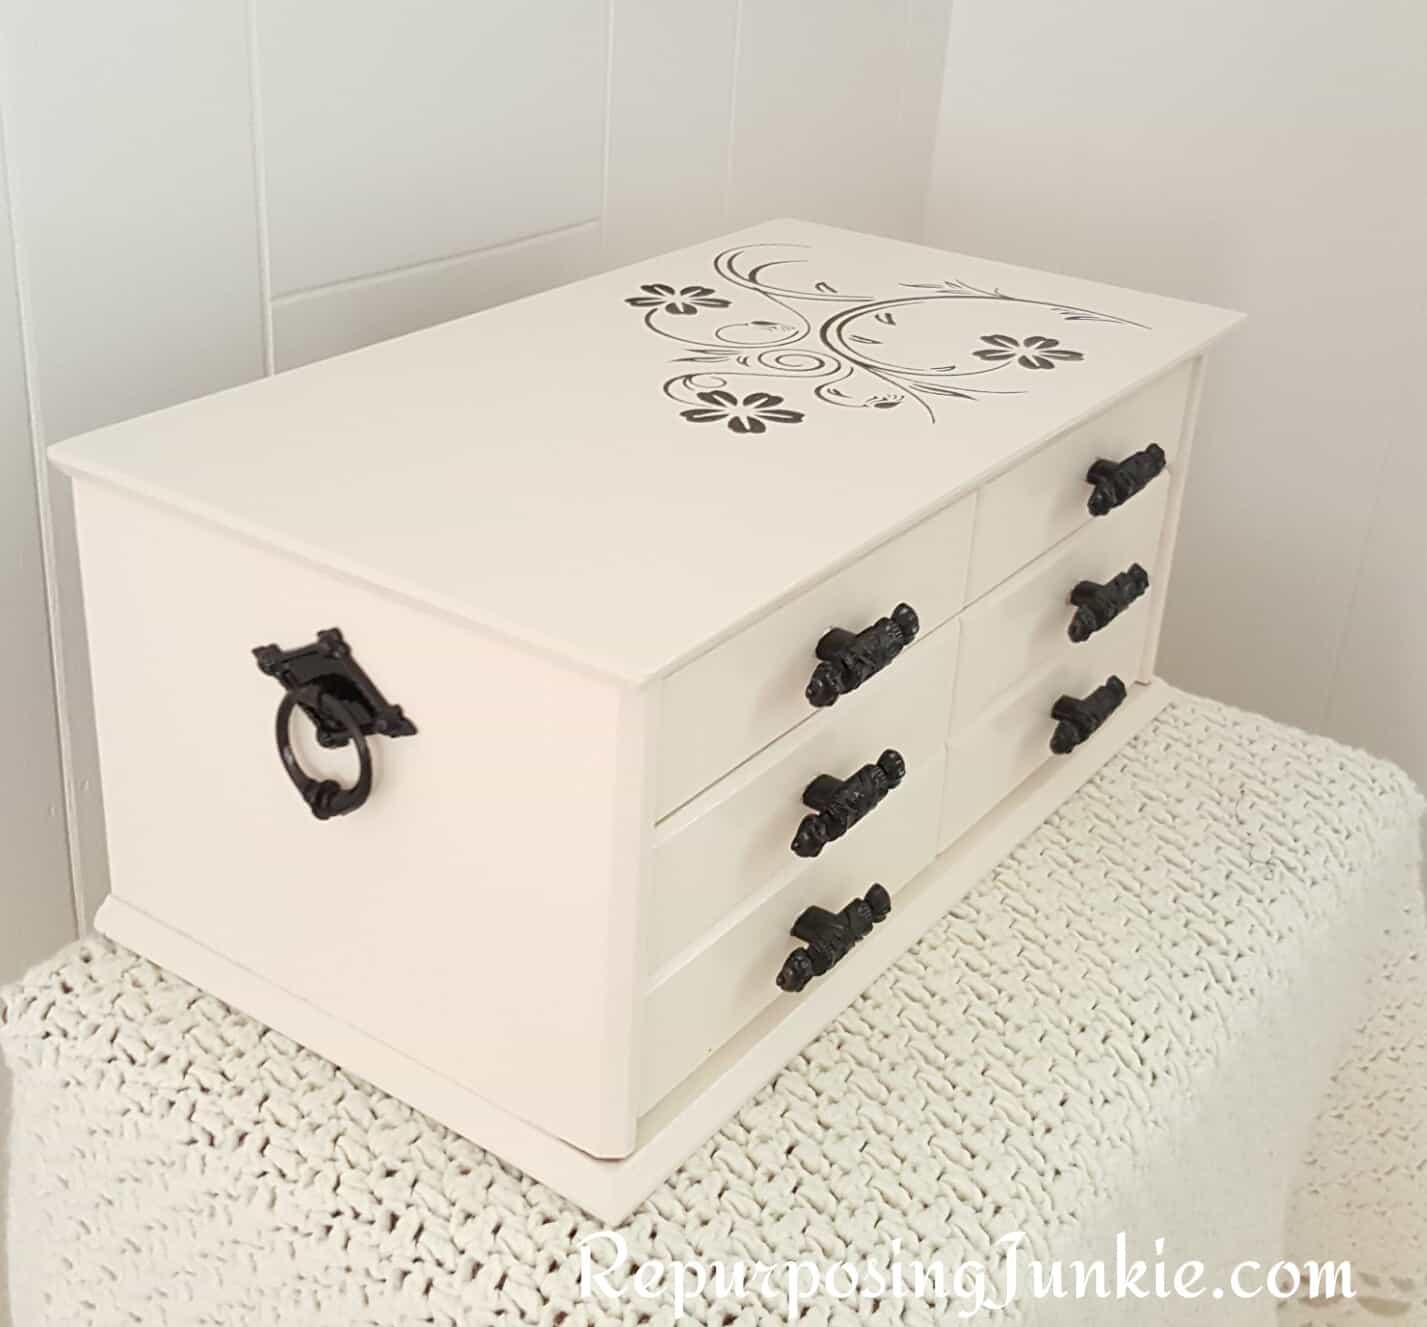
As I mentioned earlier, I ended up spray painting the hardware black, and honestly, it’s one of my favorite parts of this makeover. The dark hardware contrasts so nicely with the light paint and gives the box a modern edge. Plus, the hardware was in great shape, so why not let it stand out?
The Final Reveal
I’m so pleased with how this project turned out. I was able to revamp this jewelry box using things I already had on hand, so the total cost was just the $2 I spent at the garage sale. Now, every time I reach for a nail or a small piece of hardware, I get a little burst of joy from this beautiful, stenciled box. It’s functional, stylish, and completely customized to my taste. What more could you want from a DIY project?

The hardware is nice!! I liked the color so I struggled with whether to paint it or not.


I knew before purchasing it that I wanted to use it to store hardware and other accessories for future projects.
I started by sanding it down and applying 3 coats of latex paint in an off white color.

I stenciled the top of the box to give it a little bit of kick to it! The details make such a huge difference, don’t ya think?

The black and white contrast gives this old jewelry box a classy look.

I took the blue velvet lining out and replaced it with this wrapping paper I had on hand using a little homemade mod podge.

As you can see I went ahead and spray painted the hardware black.

I really like how it turned out. I had everything on hand to revamp this piece, so this project only cost $2 and a little time. :)

Thanks for sharing How I Refinished a Jewelry Box Using Stencils!!


Came across this as it’s the EXACT same box I acquired from my late Nana (she was the best). It inspired me to give it a face-lift so thank you, I hope the jewelry box gets another 50 plus years of life now!
That’s AMAZING Joan! Thanks so much for sharing. I’d love to see your work repurposing your Nana’s jewelry box. :)