In This Article
This post may contain affiliate links. If you make a purchase through links on our site, we may earn a commission. And if you do that, you are AWESOME!!! Thanks :)
Why would you want to repurpose a painted wooden sign? Well, have you ever received one of those gifts for your house where the thought was nice but it just didn’t match your decor? Or maybe you got stuck with an awkward white elephant gift from your office holiday party?
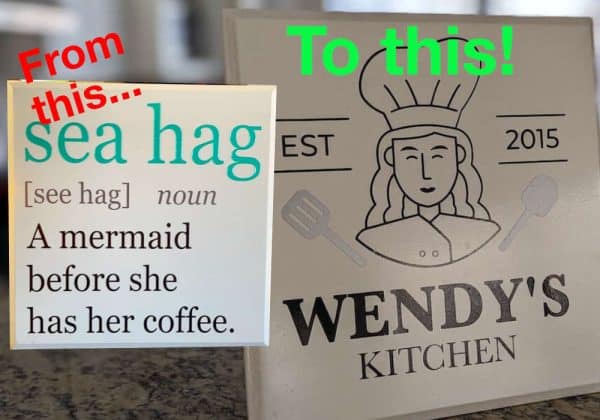
The latter was the case for me, and when I ripped off the wrapping paper on this “sea hag” sign I knew that I was stuck with it for the evening. No one was stealing this sucker no matter how much I waved my best Vanna White hands in front of it to display it in all its ridiculous glory.
But no worries, right? I’m a Repurposing Junkie and this is just another opportunity to take something old or unwanted and make it shine in a new and interesting way. I was ready to repurpose a painted wooden sign as a gift for my mom. Challenge accepted!
Supplies Needed to Repurpose a Painted Wooden Sign
- A wooden sign that you want to redo (or a blank wooden sign you want to start with from scratch)
- Gloss white spray paint
- A Cricut machine
- Permanent vinyl for your design & lettering
- A weeding tool for your cut vinyl
Where to Find a Sign to Repurpose
If you weren’t “lucky” enough to receive your painted wooden sign in a white elephant gift exchange like I was, you still have plenty of options. Some ideas for finding a good base for your wooden sign repurposing project include:
- Thrift stores
A tried & true method for any repurposing junkie, your local Goodwill or independent thrift shop can be a great spot to find a wooden sign you can remake into your own creation. One drawback is sometimes the items seem a bit overpriced for the quality of the design, but in this case just look for a solid painted wooden sign and don’t worry about what’s on it since you’ll be sanding & painting it later. - Discount Resellers
I don’t know about where you live, but these odd little hole-in-the-wall resellers are everywhere in the western U.S. The store names typically include the words “discount” or “liquidator” and their business model is basically buying pallets of returned or discarded merchandise from big box stores like Walmart or Home Depot, or even Amazon. I’ve talked with a bunch of the store owners and they all seem to buy goods by the pallet so you never quite know what you’re going to get — you may find a diamond in the rough so you can repurpose a painted wooded sign of your own. - Rummage Sales
“One person’s trash is another person’s repurposing project” I always say! Never hesitate to pull over and take a peek at what your neighbors might be looking to sell for pennies on the dollar. - Clearance End Caps at Big Box Stores
If you’ve been in a Walmart lately, you’ve probably noticed the aisle or two they have with clearance goods at pretty steep discounts. Make sure you cruise the ends of the aisles (the “end caps” at other department stores, too! Places like Target, Hobby Lobby, and Bed Bath & Beyond often have pretty huge discounts at the end of the shelves in one or two spots in the store. You may get lucky and find a super-discounted items to use as you repurpose a painted wooden sign for your next project.
Prepare to Repurpose a Painted Wooden Sign – Remove the Existing Design
First things first, you’re going to need to get the existing design removed from your wooden sign. Then you’ll need to re-paint a base coat so the design you create with your adhesive vinyl really stands out.
As a reminder, this was the original. In my opinion…yuck. Time to try to repurpose a painted wooden sign.

Removing the existing design from any painted wooden sign will largely depend on what the underlying wood material is like. In my case, this was some sort of variety of MDF or “pressboard”, so I needed to be fairly delicate with the design removal. That stuff can gouge, scratch, and flake quite easily if you’re not careful.
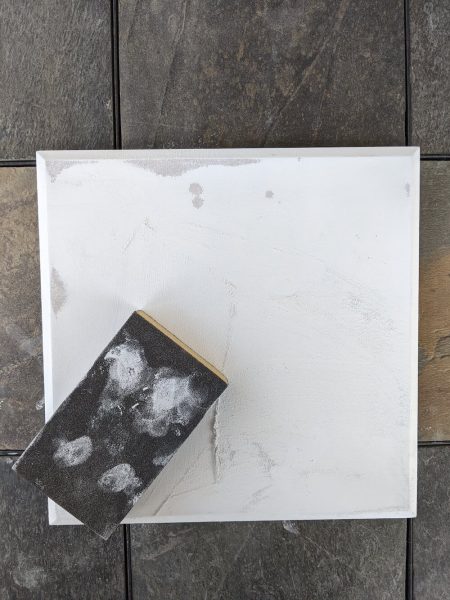
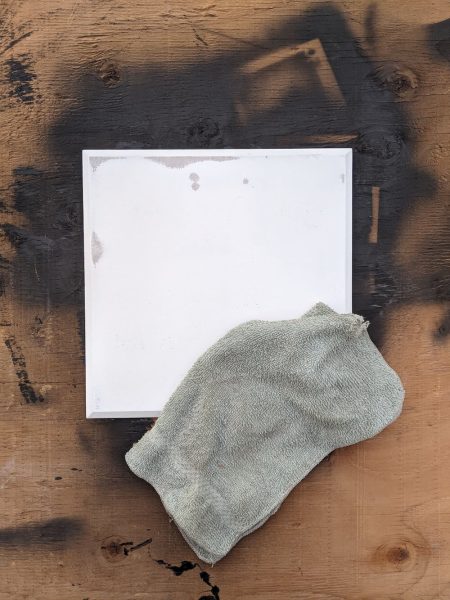
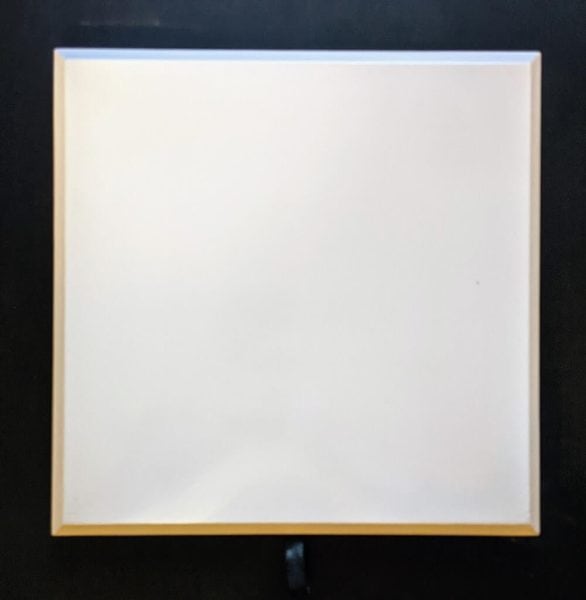
A little light sanding with a fine grain sanding block removed the majority of the painted lettering on the surface of the wooden sign. Then I brushed off the bulk of the paint dust with a dry rag and got the rest of the debris off with a soft damp cloth.
With the painted letters gone and the dust removed, it was time to paint the surface a uniform color. In my case I wanted to keep it simple and go with a pure white. A can of Krylon gloss white from the hardware store did the trick nicely. Pro Tip: put some scrap wood below your wood sign before you start painting. Then it’ll be easier to pick up and the paint won’t have a chance to adhere the sign to your overspray board or cardboard under the sign.
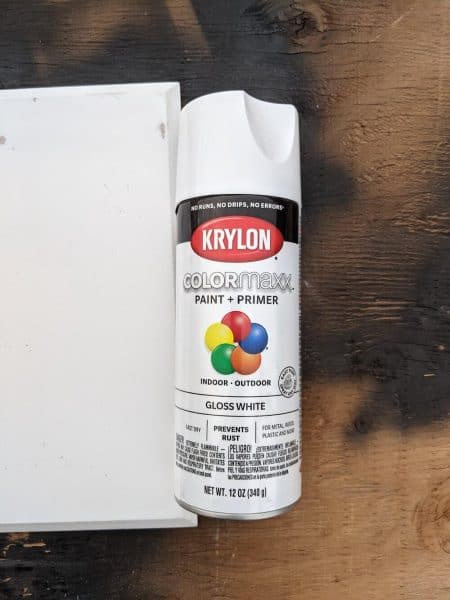
Remember to use smooth, even passes with the spray can. Lighter pressure and a two or three coats will ensure a nice even consistency for your adhesive vinyl to stick to once it’s dry.
Create Your Graphic Design File
Now that you’ve got a shiny smooth slice of wood for your new sign, it’s time to create your graphics and really start to repurpose a painted wooden sign. For this one, I used Affinity Designer since it’s a one-time purchase software. But you could just as easily use Adobe Illustrator, Corel Draw, etc.
Prepare the Design File in Cricut Design Space
If you own a Cricut, you likely have a pretty good handle on the Cricut Design Space software. Since I created a fairly simple design I just exported it from Affinity Designer as a PNG file and imported it directly into Cricut Design Space.
The one setting I did use was to separate out the black and the silver elements in the design into two separate files, which you’ll see in the final product. I wanted the text black but the silverware in the design to be, well, silver. That’s a pretty easy process but if you’d like more info on that just let me know in the comments and I’ll be happy to update the article.
Cut the Vinyl with your Cricut and Apply the Design
Once you’ve run your adhesive vinyl through Cricut machine (in my case on both black vinyl and silver vinyl), it’s time to weed the excess material and apply the designed elements on your painted wood. Yup, we’re now at the official repurpose a painted wooden sign stage.
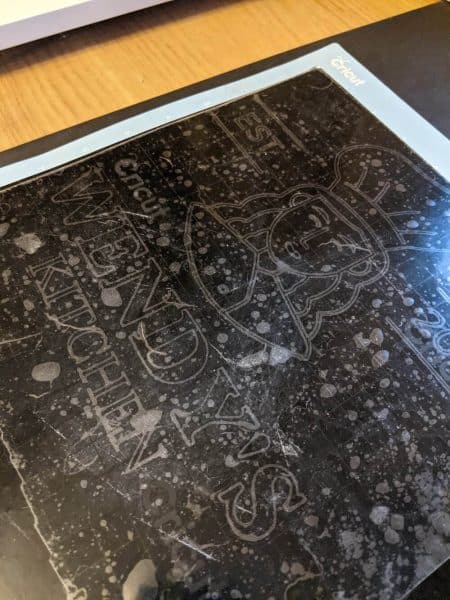
Above you’ll see the black vinyl parts of the design. Boy there sure were a lot of bubbles in the vinyl transfer sheet. “Wait a minute!” I hear you saying it…I forgot to weed the excess vinyl before applying the transfer sheet. Ha! Yep, this is an example of what NOT to do. I pulled that transfer sheet off, weeded the excess black vinyl, and re-applied a fresh transfer sheet.
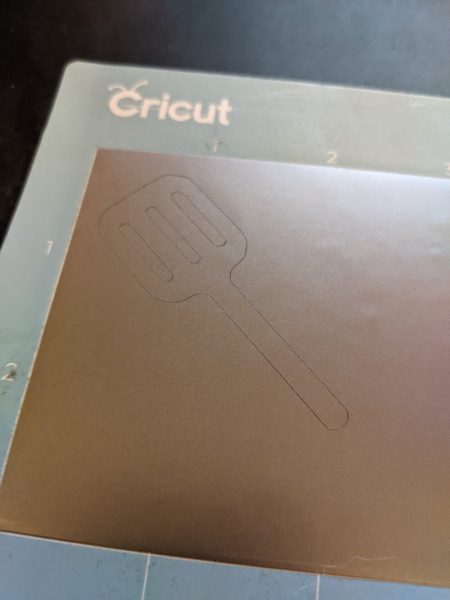
For some more perspective on the overall design process, here is one of the silver elements. I really love how the silver vinyl looks when contrasted with the black vinyl and the glossy white paint of the sign once it’s all complete.
Once I finished the weeding of the excess black vinyl, the design looked really great. Since I was going to be placing the design on a glossy white surface, this was a pretty nice preview (minus the silver spatula elements of course).
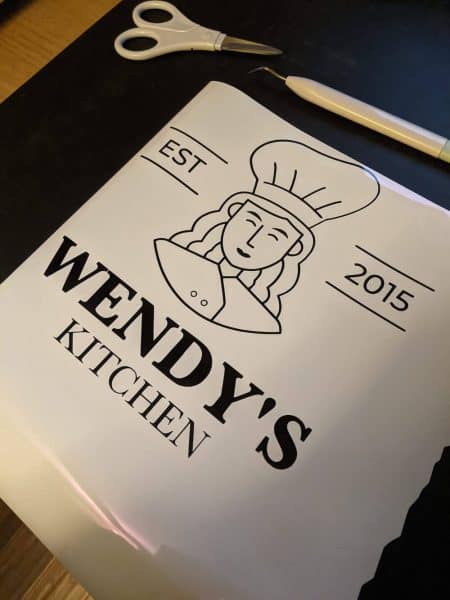
Hey look, I did the vinyl transfer tape (AKA transfer sheet) correctly this time! Now that I had that set up correctly it was time to apply the vinyl to the painted glossy wood.

The final result turned out exactly how I envisioned it. I gave it as a gift to my mom and she absolutely loved it! She also enjoyed the fact that I was able to repurpose a painted wooden sign to make this new creation for her. And the fact that I included the date of 2015, when I renovated her kitchen, was even more special.
