In This Article
This post may contain affiliate links. If you make a purchase through links on our site, we may earn a commission. And if you do that, you are AWESOME!!! Thanks :)
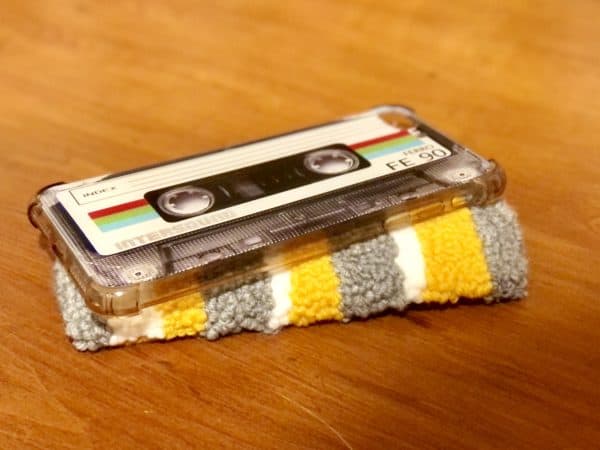
We have a comfy place to lay down and rest, so why not be a little extra and make a phone pad (phone bed!) for your digital pal?
Okay, we totally get it, a “phone bed” may sound a little too out of the box and bougie. Alas, there are some pretty profound thoughts to be had along with the idea of the phone pad and having a phone holder on desk/nightstand/wherever. We’ll be exploring why you should make your own phone pad, or for a loved one, and the simple punch needle steps in how to get there.
Let’s boogie and get crafty!
Why Use A Phone Holder On Desk?
You may be wondering why you should even use a phone holder on desk when you can just set it down beside you without a problem. That’s fair! But let’s dig into it.
Whether you work from home or you’re at your place of work, or perhaps you’re just trying to concentrate, having your phone near you can be a big distraction. Sometimes we don’t even notice we’re reaching for our phone and we’re going on a scroll because we’ve become so used to disassociating through our phones and apps. Particularly social media apps.
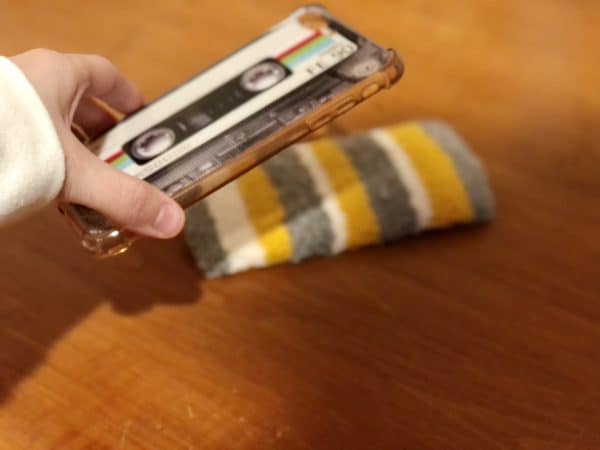
Having a phone pad, or a phone bed as I like to call it, can help form the habit of putting your phone away and focusing while also elevating your space.
- Creating the Habit: Having a phone pad phone holder on desk can become a part of your work/concentration routine. Think: “When I set my phone down on the phone pad, it’s time to focus“, and it’s also helpful to then slide your phone pad/phone behind your computer screen or somewhere out of your sight. This will also aid in forming the habit and behavior of being around your phone that you don’t have to constantly be on it and checking for notifications.
- Elevating your Space: Have you heard of romancing your life? Well, how about also decorating our lives and filling it with items that spark joy or coziness in us? Much like the lifestyle of Hygge, being intentional with the objects and people around you is vital to your experience. You can want surround yourself with things/people that bring you joy, peace, and coziness. Otherwise, what’s the point, right? With that being said, creating a cute and cozy phone pad/phone bed can be a hygge segue into spending less time on your phone and more time with what’s in front of you. Which is also very hygge!
- Promotes Time Off Social Media: Hopping off of the last point, having an established place for your phone to be when you want to be off of it can become comfortable and rejuvenating. Ultimately, it can help lead to spending less time on social media, and hopefully enhancing your daily wellbeing. Because too much time on social media has been proven to be detrimental to our emotional and mental health. All of that for a couple of “likes”? No thanks!
Below is an excellent video explaining why we often find ourselves “doom scrolling” on our phones, and healthy ways we can get off the phone and being present in our lives! We hope this video sparks some innovative ideas for you, and in the mean time, let’s take a look at our phone pad/bed DIY!
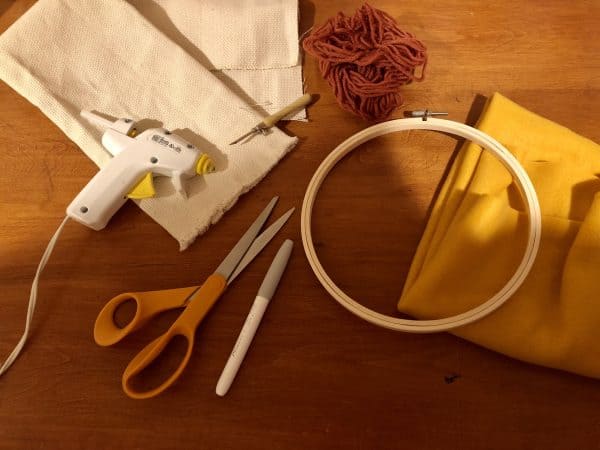
Supplies for DIY Phone Pad
Steps for DIY Phone Pad/DIY Phone Holder
Who’s ready to make a super dope and cute DIY phone holder?! Whoop whoop! Before we get into the nitty-gritty of these phone pad/bed DIY steps, we want to provide a section of Punch Needle Help/Guides to anyone who’s new to punch needling or may need a refresher.
Punch Needle Help/Guides
Below, you’ll find a few very helpful Punch Needle help/guides that are the perfect place to start if you are just beginning punch needling. We highly encourage you to check out these articles first before diving into the phone pad DIY (or any project for that matter) so that you don’t have a negative or frustrating time.
We believe in you! And we’ll see you in the section after this, the phone pad/bed DIY steps!
Step One: Prepare Hoop (Cut Monks Cloth & Draw/Trace Pattern)
First things first, we need to cut our monks cloth for our phone pad.
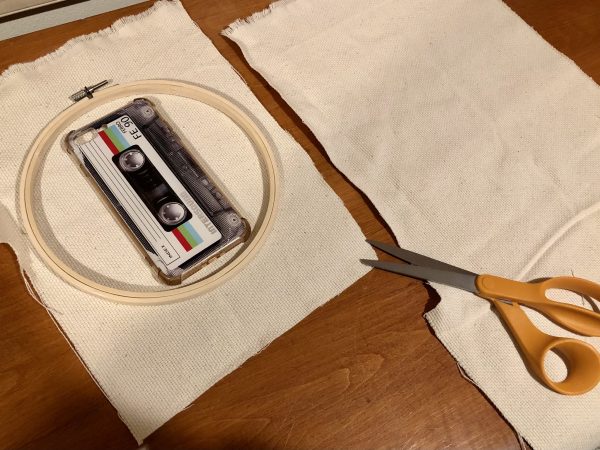
To figure out how much you’ll need, you can use your phone/phone case to help you measure about how much you’ll be needing, and get an Embroidery Hoop that’s a bit larger than that.
When you’re cutting your monks cloth, be sure to have a few extra inches on the sides. You can always repurpose extra monks cloth as stuffing/padding in future projects!
Pro Tip: A helpful tip I like to give during these punch needle DIYs is that painter’s tape works like a charm with keeping the fraying of the monks cloth down to zero. Which is incredibly nice when you’re working on a long project. Or, you just don’t want to deal with the annoying strings of monks cloth everywhere!
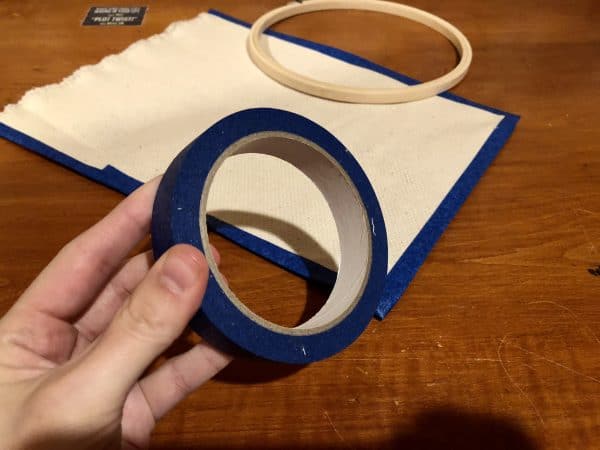
Whether you choose to use painter’s tape or not, after your monks cloth is cut, it’s time to fasten the embroidery hoop on nice and tight.
Dethatch the embroidery hoop and place the inner hoop underneath the monks cloth.
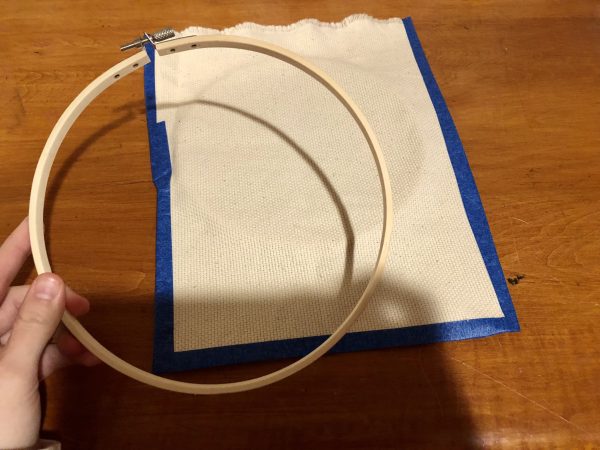
Next, place the outer hoop over the monks cloth and over the inner hoop underneath.
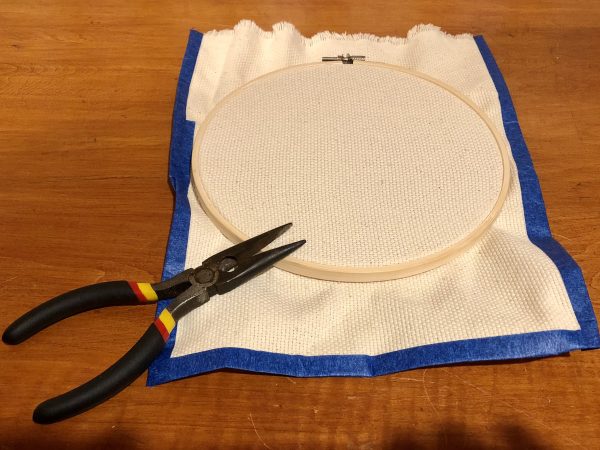
After that it’s time to make the monks cloth taut and snug in our hoop. You can do this by making sure the monks cloth fabric is pulled as tight as possible against the hoop, and that the top is tightened as much as you can.
Pro Tip: Sometimes, an embroidery hoop’s tightener at the top is too hard for me to tighten (or, in some cases, untighten!) so I use a pliers to save my wrists the strain.
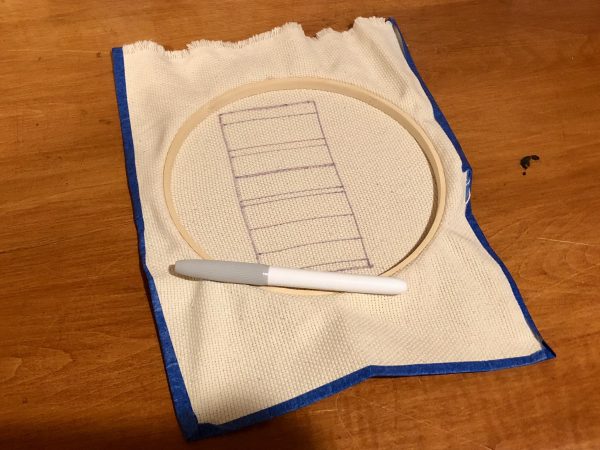
Up next is drawing on the design/pattern you’ve chosen for your phone pad/bed to act as your phone holder on desk. You’ll be drawing/tracing your design for your phone pad on the backside of your embroidery hoop. This is because we want the fuzzy looped side to be our presenting side. And remember that your pattern will turn out the opposite way, much like a mirror, on the other side of your work.
For our DIY phone holder phone pad/bed, I’ve went with free handing a very simple and elegant design with a color scheme of my choice (pssst, it’s Gray, Yellow, White).
When choosing/making a design for your punch needle, you’ll want to be careful that you’re not choosing a design that has too much small/close together details because it can be challenging to create a piece that’s fuzzy and extremely detailed. Because, at times, the yarn’s loops can get caught in each other and it can turn into a frustrating experience. So, long explanation short, choose a simplistic design over a complex one, at least to begin with.
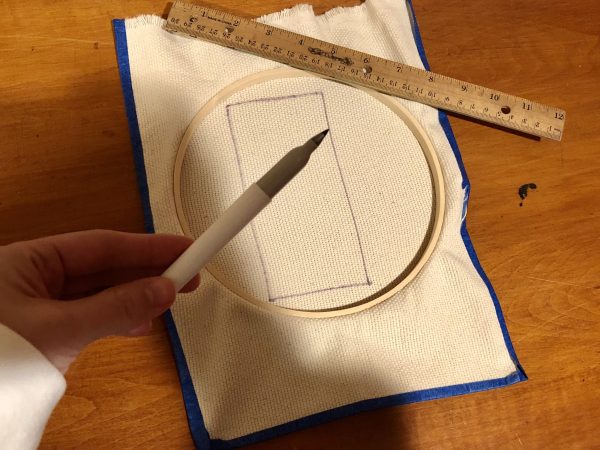
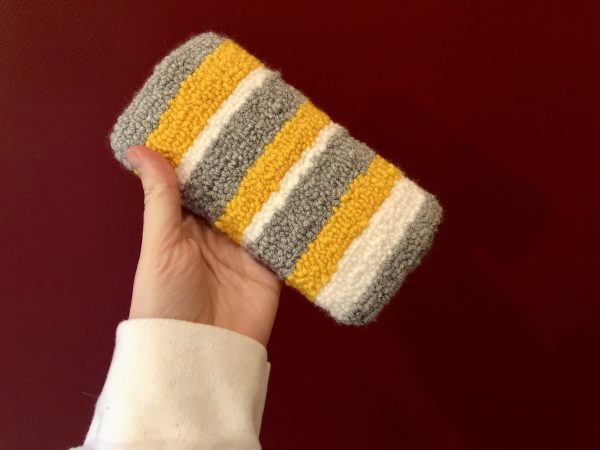
Our phone pad/bed will be rocking some simplistic, elegant, modern-looking stripes!
Step Two: Get to Punching (Punch Needle Smallest to Biggest Details in Design)
Now we can start punch needling, the best part of the phone phone holder DIY!
First things first, based on your design/pattern, you’ll have to bring out your yarn colors of choice and see which one you’d like to use first.
We suggest starting with the smallest details of your project and working your way to the largest ones. This makes it a lot easier for you to get those details in, because if you did it the other way around, it would be incredibly difficult to not get your yarn loops caught in one another.
For our phone holder on desk phone pad DIY pattern there aren’t a lot of significant smaller pieces, so I went color by color so I didn’t have to keep rethreading my punch needle. Although, if I could go back, I would have gone down in a row and just took the time to rethread. It would have been less finicky, but hey, everything turned out!
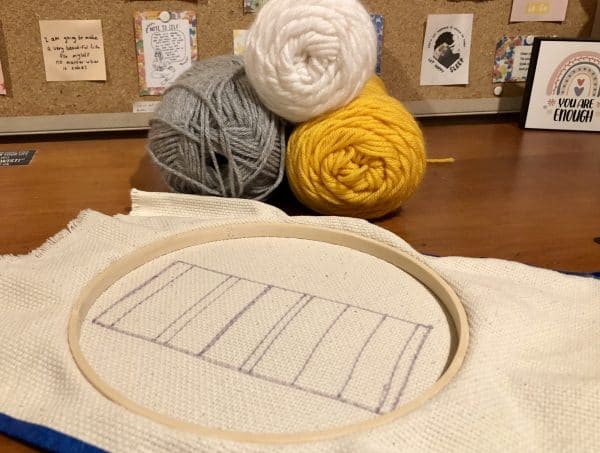
Kicking off our color scheme for our future adorable phone pad/bed is the our gray yarn!
Pick which color/detail you’d like to punch first, thread your punch needle, and get started on your phone holder DIY!
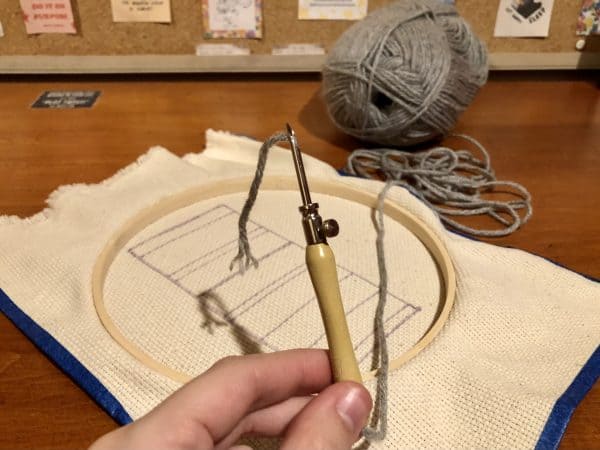
Pro Tip: Two of the most important things to remember in punch needling are to keep lots of slack while you’re working, otherwise your loops will have to much tension on them and they’ll be pulled out. The other is to remember to have the opening of your needling pointing in the direction that you’re punching in. Do these two things and you’ll be golden, but there are lots of other punch needle tips and tricks you can follow!
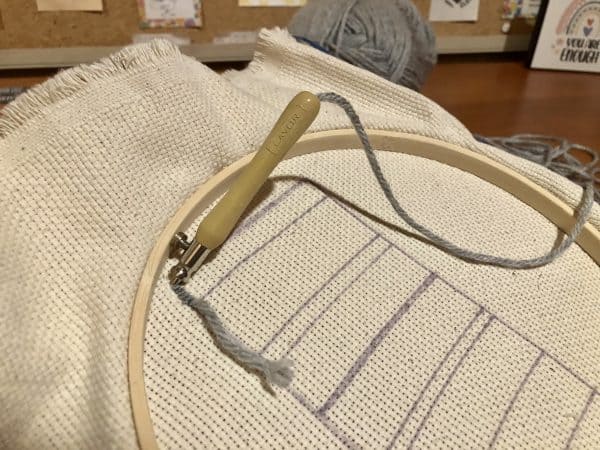
Once you’re doing punching a section, you can flip your embroidery hoop over and snip the yarn with your fabric scissors close to your project but leaving enough yarn to be able to pull your needle through to the other side.
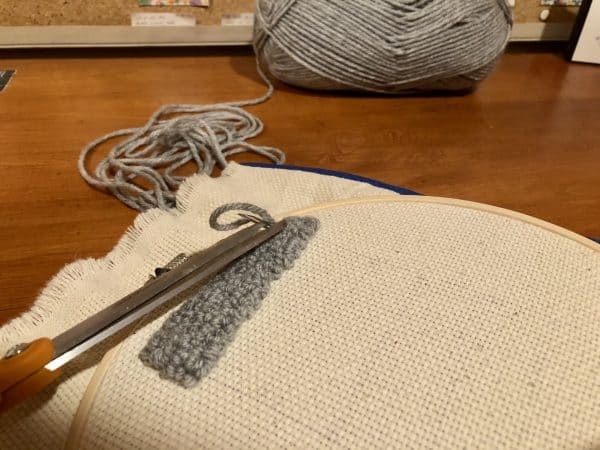
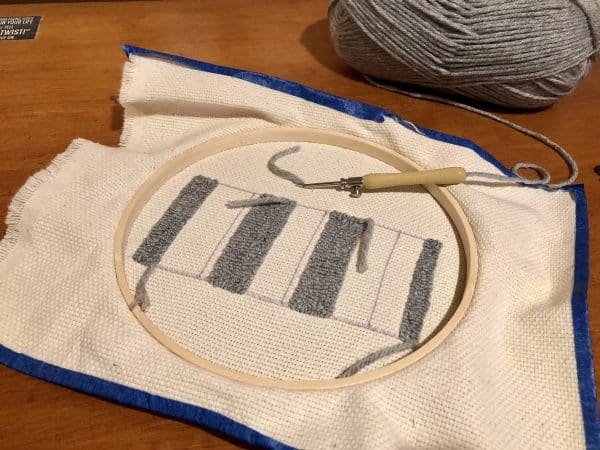
After one section/detail of your phone pad/bed design is complete you can move onto the next color/detail!
Next up on our color wheel is white, but I was a bit silly with my pattern of going about this punching, so don’t mind me. Apparently, I was subconsciously giving myself a humble punch needle challenge during my phone pad/bed DIY.
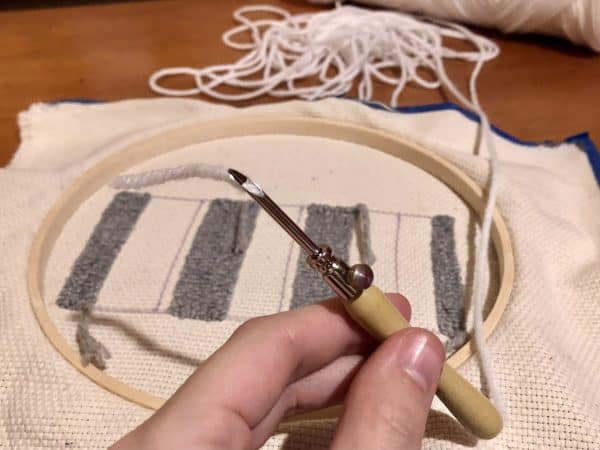
Look at all that slack of white yarn! Now that’s a good looking punch needle set up; plenty of slack to ensure your yarn loops are staying in tact during your phone holder DIY. Get some more useful punch needle tips on your phone holder on desk creative journey!
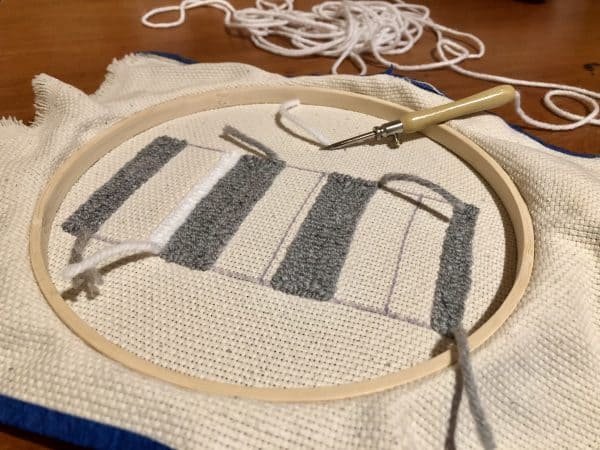
And last but not least we have the vibrant color of the party in this phone pad/bed, it’s yellow!
This being the last detail/color in my phone pad/bed project, I’m going to take it slow, stretch my neck a bit, and give my hands a tiny break before going it the home stretch. It’s good to take breaks during crafting sessions and prioritize your wellbeing!
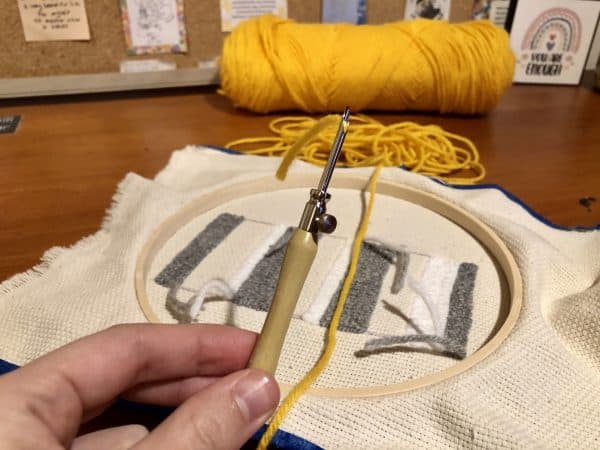
Would you look at that, it’s only a few steps away from being a phone pad/bed! They grow up so fast!
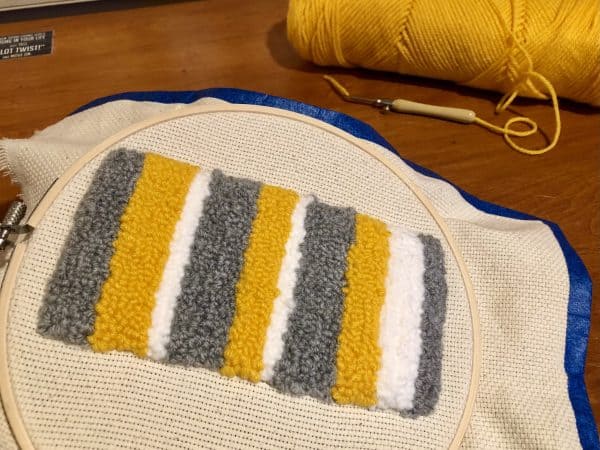
Step Three: Snip & Glue (Cutting Monks Cloth Tabs & Gluing Them Down Properly)
Before we get to cutting the monks cloth and making this punch needle design look more like a cozy and cutesy phone pad/bed, plug in your hot glue gun so it has time to warm up and be ready to go for the next steps!
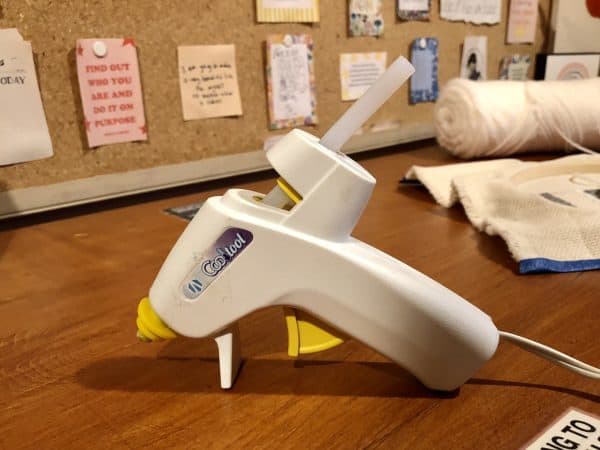
After plugging your hot glue gun in, take your scissors and snip off the yarn tails on the back of your project.
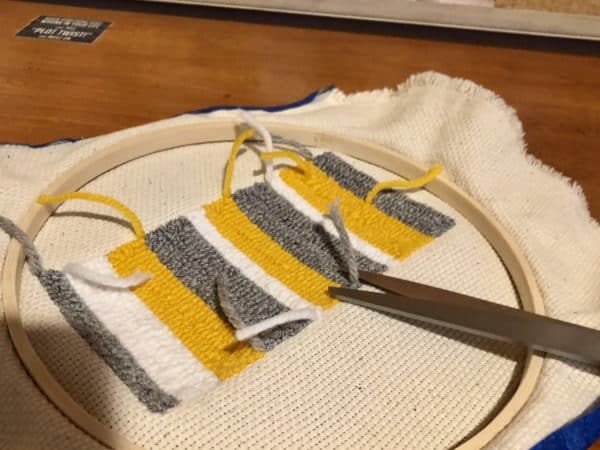
You can save the yarn tails, along with any other fabric scraps, in a Ziplock baggie and repurpose them as stuffing/padding for future projects!
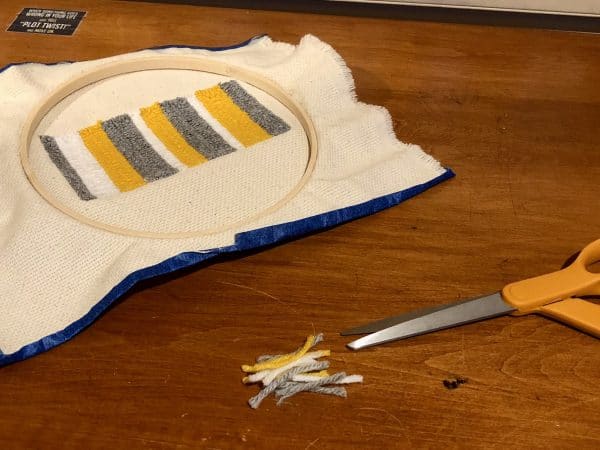
Once all the yarn tails have been snipped away you can remove the embroidery hoop from your phone pad/bed project and begin taking off the painters tape.
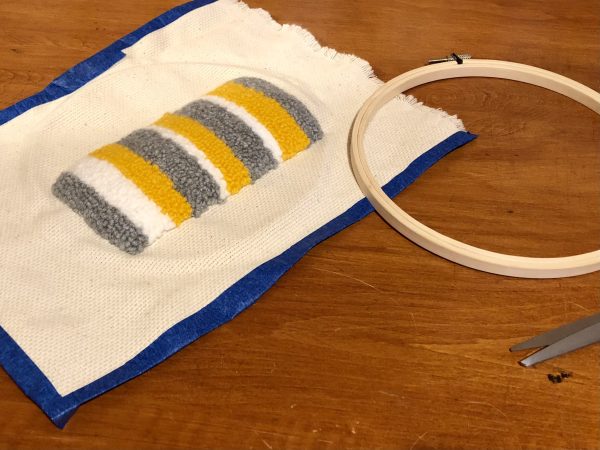
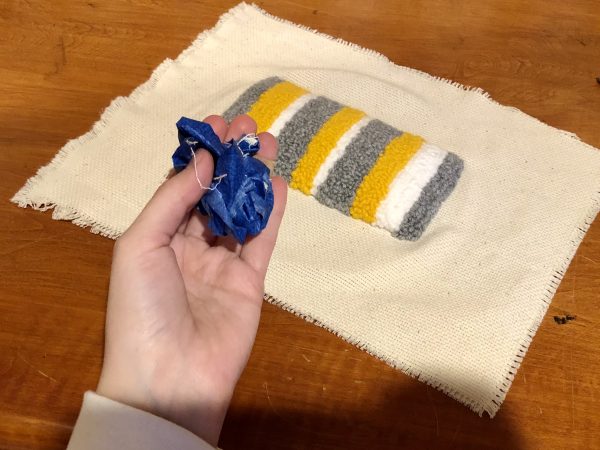
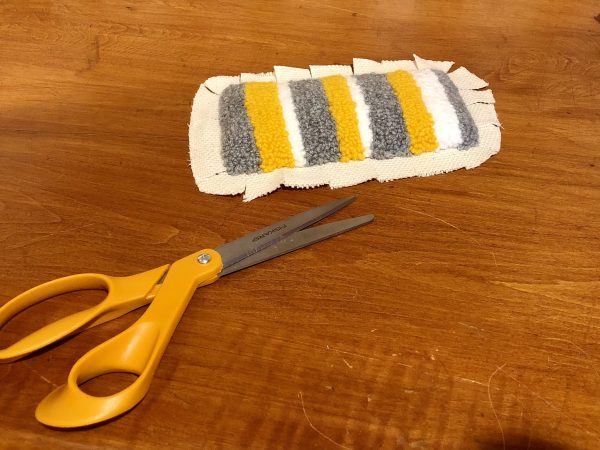
Grab those handy scissors again and cut around your phone pad/bed project, leaving a few inches around it.
Remember, you can save the extra monks cloth as padding for your projects, including this one if you so desire!
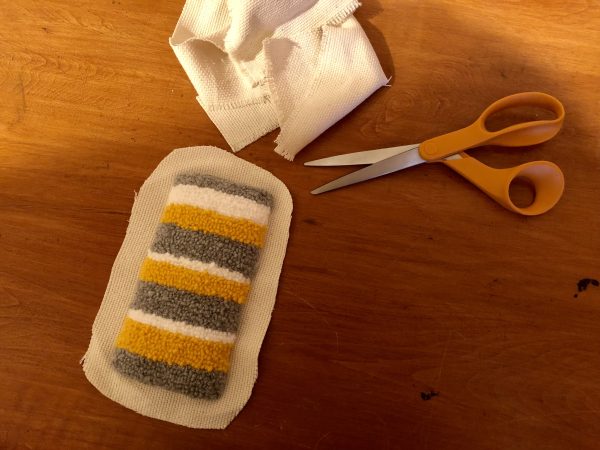
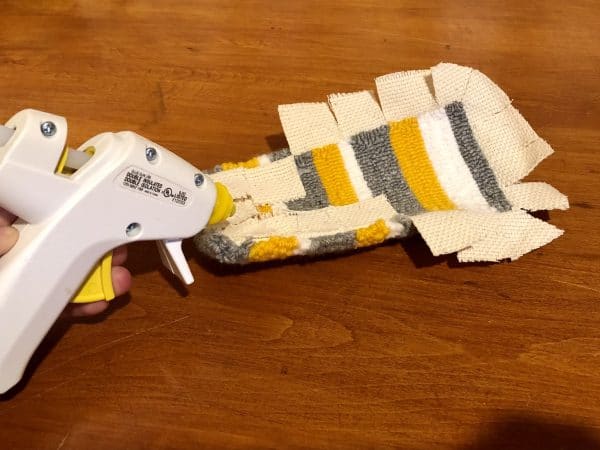
Next, you’ll cut slits around your entire phone pad/bed project, cutting up to the yarn, to create monks cloth tabs that will be hot glued down on the flat stitch side.
Once your hot glue gun is warmed up and ready to go, you can begin hot gluing the monks cloth tabs you’ve created down on the flat stitch side of your phone pad/bed project. Just like you are seeing in the photo below!
Flat stitch side = Back side
Step Four: Glue & Enjoy! (Attach backing and allow drying time)
We’re in the final stretch of your phone holder on desk phone pad/bed DIY! And this next and final step is to attach the backing fabric onto your project.
Using a fabric marker or sharpie, place your phone pad/bed project on the backing fabric of your choice (we suggest fleece/felt) and trace around it.
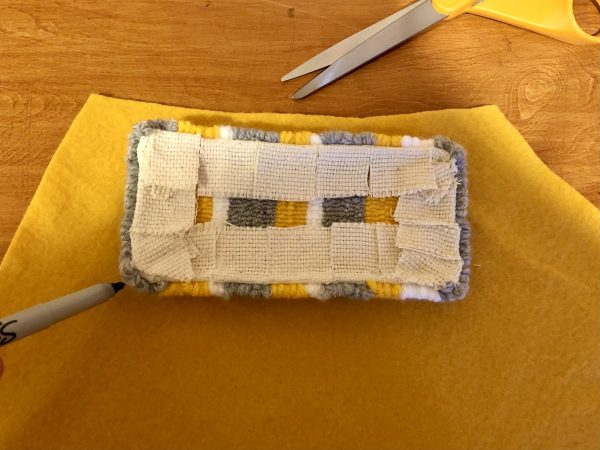
Cut your backing out and get ready to hot glue it onto the back of your phone pad/bed project.
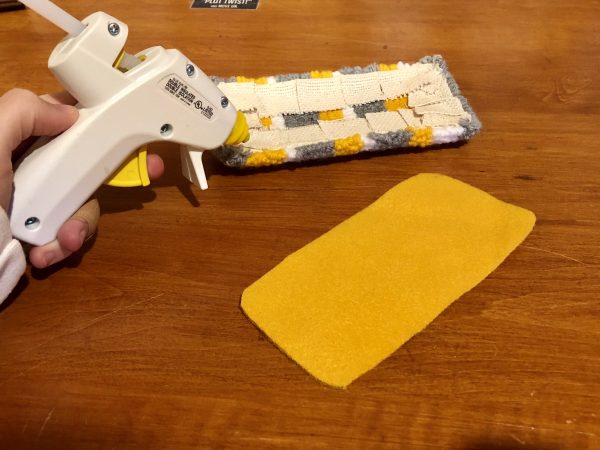
Pro Tip: To begin attaching the backing onto your phone pad/bed project, I would suggest hot gluing a few lines down the middle and pressing the backing onto there to secure it. From there, you can glue the sides easily as the backing is firmly secure onto your phone pad/bed project. Easy-peasy!
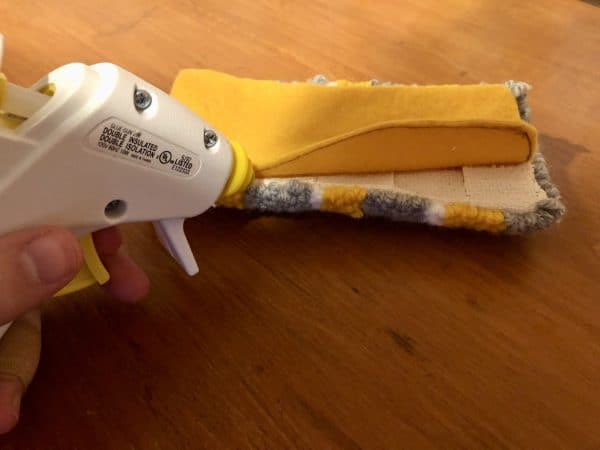
Allow a few minutes of drying for your hot glue to properly adhere to your phone pad/bed project, and then do a double check to make sure you’ve gotten hot glue all the way around your piece. Doing this little step can potentially bring an even longer phone pad/bed life to your project because it will have been made with proper care!
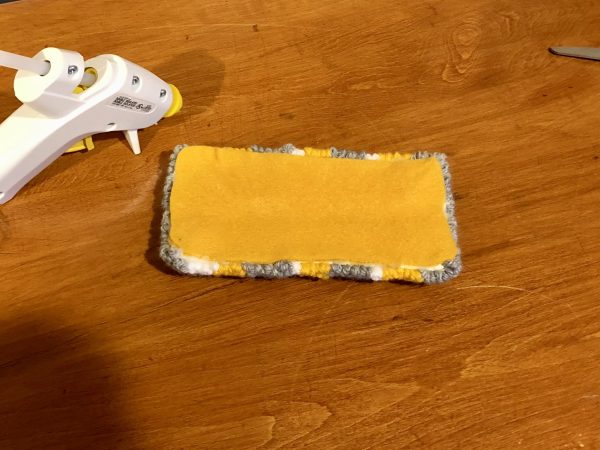
After your double checks and drying time, you can finally hold your phone pad/bed in your hands and get a phone holder on desk, because you’ve done it! Your very own phone holder DIY is complete. And now, you can start doing a mindful routine of setting your phone down to concentrate, focus, and be in the moment.
More Punch Needle Projects!
Did you have fun creating your own phone pad from your trust Punch Needle? Get in on even more crafty Punchy action by checking out our Punch Needle DIYs!
Below we’ve picked out just a few to give you a taste for the fun that awaits in our Punch Needle section. But trust us, there’s TONS more projects like the phone pad DIY that you’ll absolutely love that can be found on our Punch Needle tab. Enjoy, punchers!
Don’t miss out on the creative goodies like the phone holder DIY punch needle project and check out the other imaginative projects you can start today!
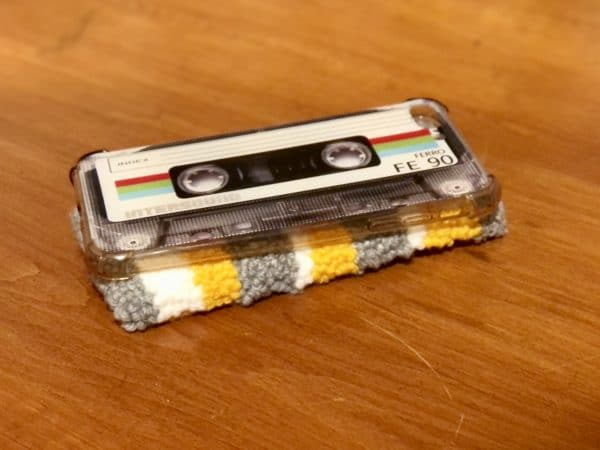
From all of us crafting and repurposing fanatics at Repurpose Junkie, we hope you have enjoyed learning how to create a phone holder on desk and that you have fun using your new phone pad/bed. Be sure to check out our website for even more fun and meaningful DIYs, inventive ideas, and free goodies!
