In This Article
This post may contain affiliate links. If you make a purchase through links on our site, we may earn a commission. And if you do that, you are AWESOME!!! Thanks :)
My new 40-watt laser engraver was just delivered. So I thought I’d do an xTool S1 unboxing & setup article.
I got the 40-watt laser engraver for some more power and versatility. Plus, the xTool S1 laser engraver is a fully enclosed diode laser system and that design will be very helpful as I ramp up production for more laser-engraved products.
The xTool brand has been a solid choice for me, and I’ve owned the xTool M1, D1, and F1 models. Eventually, I’ll also get their air purifier unit, along with the automatic conveyor system for the S1 laser engraver so I can cut and engrave extra-long materials.

When the box first arrived I was surprised by the size and weight. I knew it would be a larger machine than my other xTool lasers, but the S1 engraver weighs in at a whopping 44 pounds. And the overall size of the unboxed unit is about 29 x 22 inches so it takes up quite a bit of table space. The end results I’ve already seen from my first tests prove that this was a great investment, though. The xTool S1 laser machine is fantastic.
xTool S1 Unboxing
Now it’s time to cut that packing tape and get started with the xTool S1 unboxing. Now, be careful if you use a razor blade or pair of scissors to open up your laser engraver. You don’t want to cut too deep and scratch the machine before you’ve ever used it. Although, the build quality of this all-metal laser cutter is so robust that I doubt you’d do much damage. Best to be cautious though, amiright?

The xTool S1 is packed really well. The outer shipping box had some rips and dents, but since the packing materials were so well done inside the box, the laser engraver was in absolutely pristine condition.
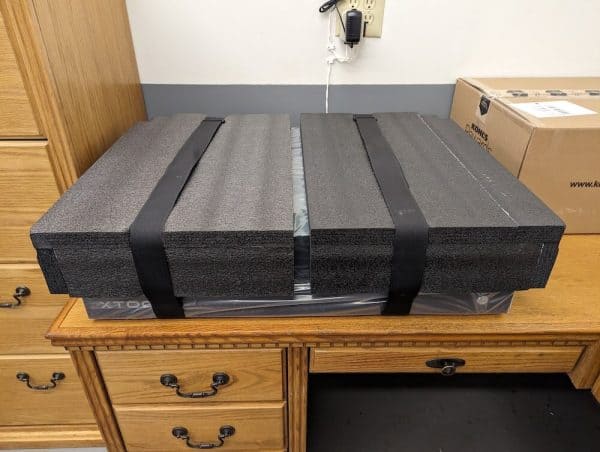
There are two large velcro straps around the entire machine. These are great because the xTool S1 is a pretty heavy unit. You simply grab the two straps and lift the entire machine out of the box. You may want to have another person around to hold the outer shipping box to make it a bit easier for you.
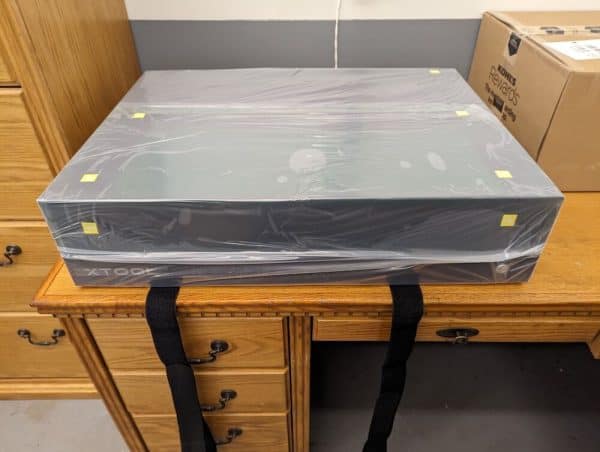
Once you loosen the straps and remove the first layer of dense foam, you’ll notice that there’s thick plastic sheeting covering the entire xTool S1. You may need a pair of scissors to cut the tape on the plastic, just make sure not to scratch the surface of the laser’s protective cover.

As you continue the xTool S1 unboxing, you’ll see the instructions & accessories are neatly packed inside the unit when you open the lid for the first time. And of course, more dense foam to protect the slides & such inside.

Above is a photo of all the elements that were packed in the box and inside the machine itself. You have the exhaust hose, the power cable & adapter, the 40 watt laser unit, and other accessories. I’m not sure if they all come with sample materials, but mine had a box of some wood sheets & such included as well.
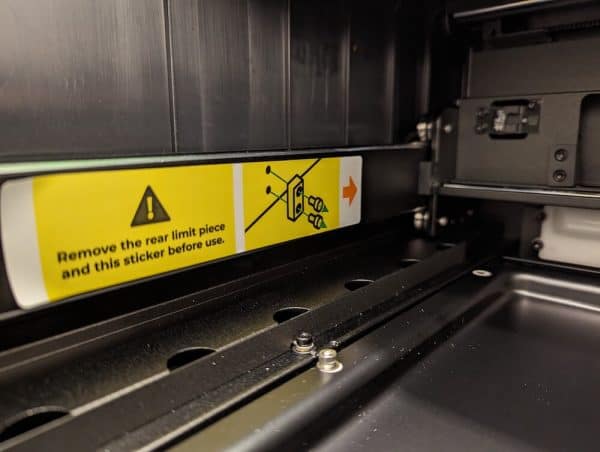
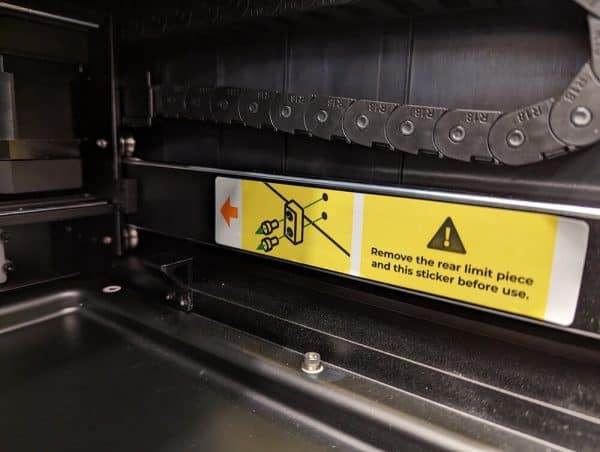

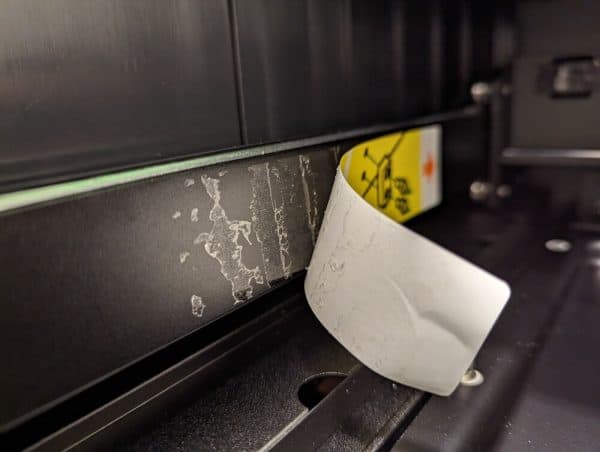
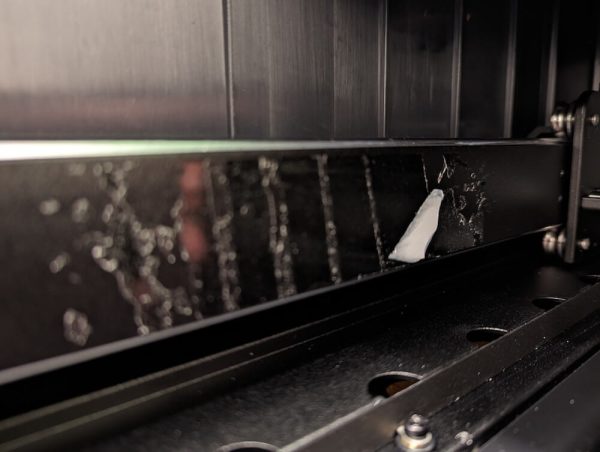
Once all the items are removed from inside the unit, you’ll need to remove the two plastic bumpers that were holding the slide in place during transport. The instruction booklet is short on words but has good illustrations to show you what to do. And if you’re not reading the instruction book, there are stickers inside the xTool S1 laser that tell you what to do next. This was the only point where I had a slight issue though — the stickers said to peel them off but they left a lot of sticky residue behind. I’ll probably use some Goo Gone or Goof Off liquid degreaser to remove the gunk.

At this point you need to manually pull forward the slide that will eventually hold the laser head unit. Cut the two zip ties and remove the protective paper.

You’ll now see the cradle where you’ll mount the laser head and get your first view of the entire working area. The bed size of the xTool S1 is nearly 24 x 15 inches. Fantastic space to engrave a ton of great stuff!

During your xTool S1 unboxing you’ll also see that you get a little toolkit. This has extra screws, a small hex-head screwdriver, and a couple extra laser lenses. Pretty nice presentation overall I’d say.
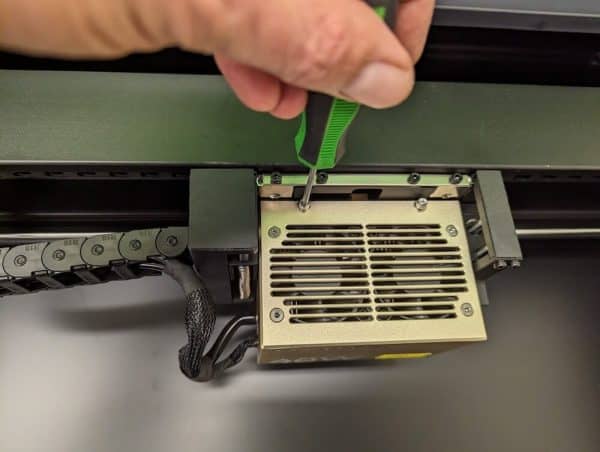
Now it’s time to mount the laser head unit on the cradle. You sort of slide it down, then use two screws to mount it. Since the xTool S1 has a moving z-axis, I found it was easier to hold the head unit with one had while inserting the screws so the head unit didn’t try to slip down as I was twisting the screwdriver.
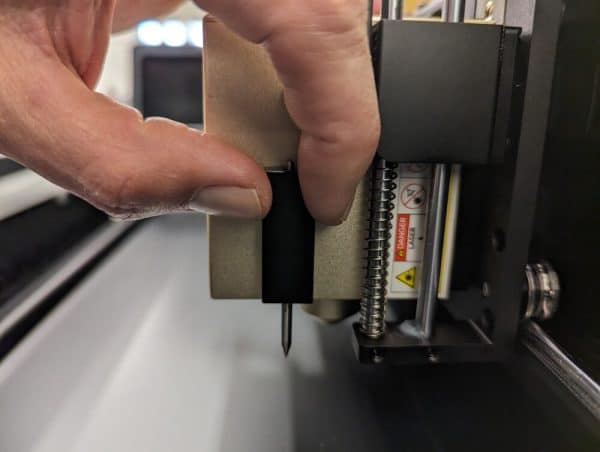
Next you’ll add the height sensor, which is essentially a pointed piece of metal that will tap the top of your material. It acts as a depth gauge and installing this piece is literally a snap — it’s magnetic and adheres to the laser head unit with a click.
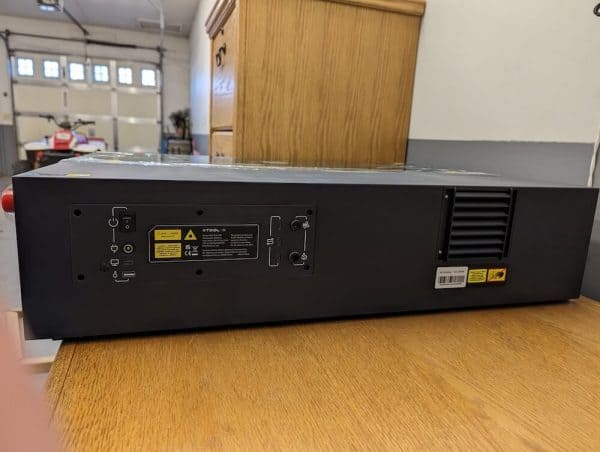
On the back of the xTool S1 you’ve got ports for the power cable, computer connection, the exhaust vent, as well as your air assist ports to put the hose and the sync cable ports which will allow you to slave your air assist unit directly to the S1. This works great!
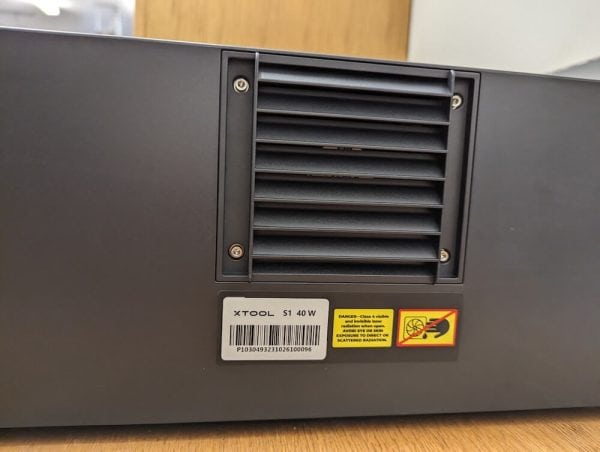
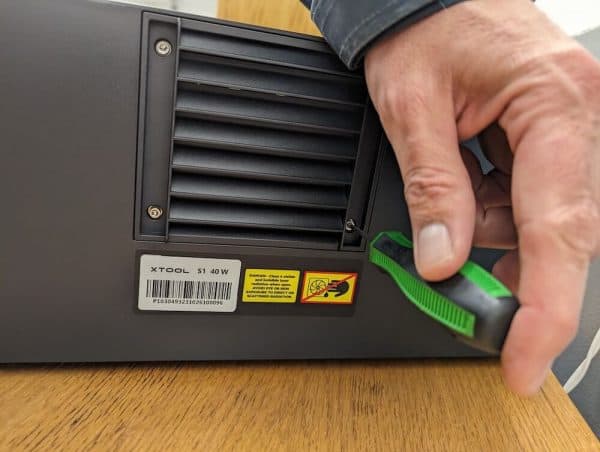
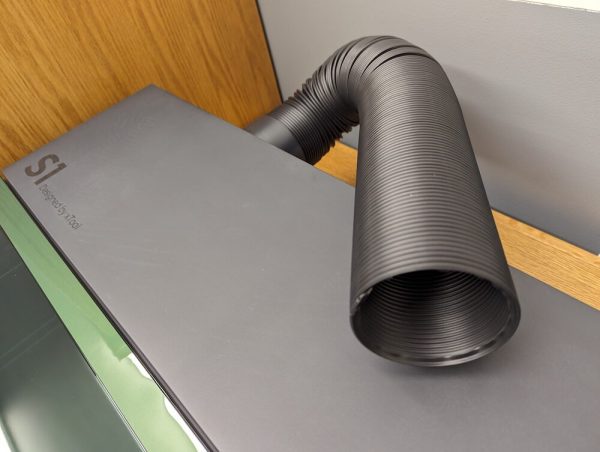
You’ll need to remove the exhaust vent in order to add the exhaust hose. The hose itself replaces that exhaust vent. I’ll be purchasing xTool’s Air Purifier machine to go with the S1. It gets pretty cold in my shop in the winter and the fumes from etching and cutting with the laser really aren’t that great to be breathing in a closed environment.
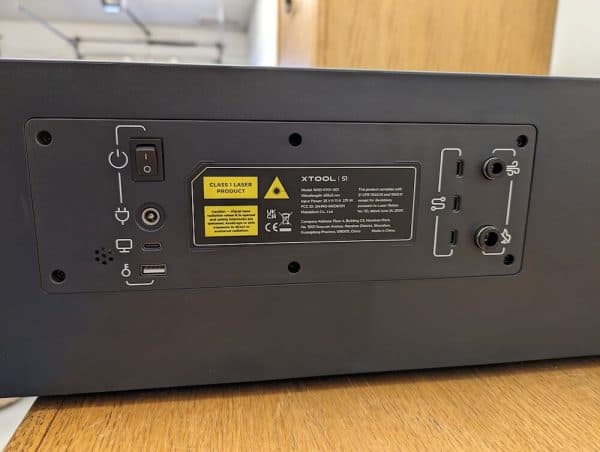
Looking closer at the back of the machine you’ll see that you also need a “key” to get the xTool S1 working. This is essentially a USB-C device that looks like a tiny memory stick. Simply pop it in and you’re good to go. You can leave the key in at all times and they provide a duplicate key in case you ever lose the first one.

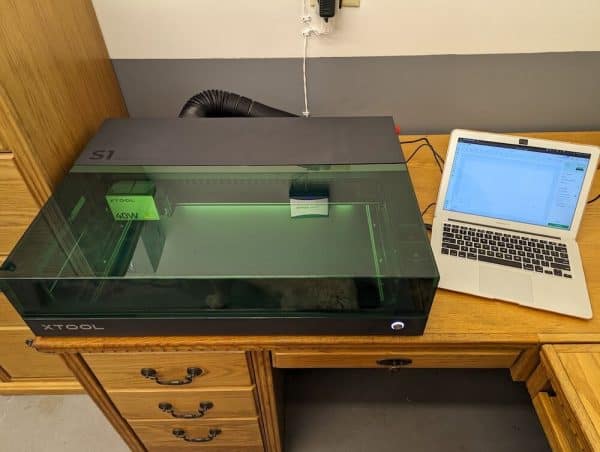
Once you’ve plugged in the laser with the USB-C key it’s time to hook it up to your computer and power it on. For perspective, the photo above shows the xTool S1 next to my 13-inch MacBook Air.
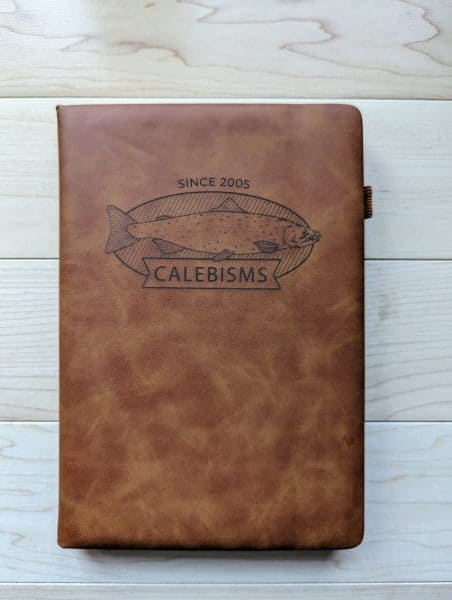
Once I was finished with the xTool S1 unboxing and had everything plugged in, I whipped up a quick gift. This artificial leather journal took a bit of trial & error but it came out pretty nice in the end. My settings were dialed way down — power was only 2% and speed 80. Anything over 2% power and it would burn right through the fake leather material. Air assist was on at full power as well.
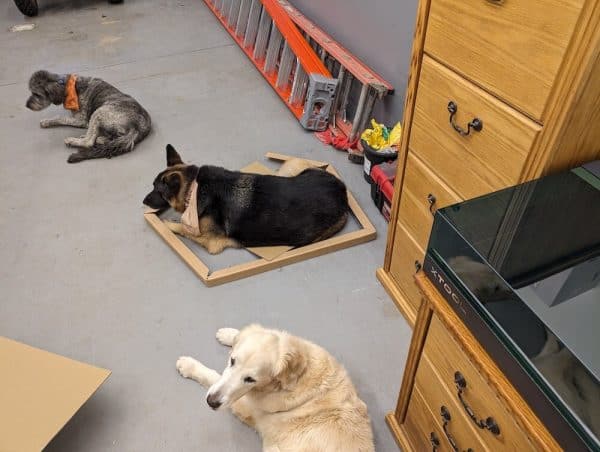
If you’re thinking about buying an xTool S1 laser engraver I say go for it! This is a rock solid machine that works great and looks pretty amazing too. An added bonus is that all the packing material becomes makeshift dog beds while you get started with your new machine.
Use an xTool S1 and have any good tips? Leave me a comment below!
