In This Article
This post may contain affiliate links. If you make a purchase through links on our site, we may earn a commission. And if you do that, you are AWESOME!!! Thanks :)
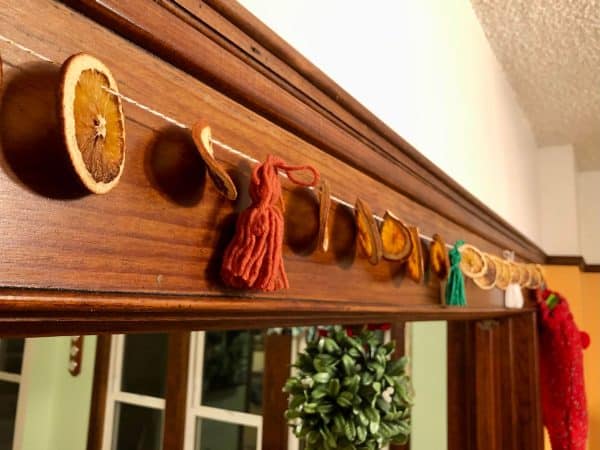
There are dozens of fun DIYs for Christmas, and this iconic Dried Orange Garland DIY should be at the top of your list!
Not only is it an incredibly simple and cost-friendly Christmas DIY, but Dried Orange Garland has a timeless elegance to bring a pop of color and uniqueness to your Holiday experience. It’s also pretty darn Hygge if you ask us!
Whether you’re planning to lace this Dried Orange Garland around the tree, your front door wreath, or hang it up, you’re in for a festive and creative treat!
How Long Does a Dried Orange Garland Last?
We know the fruit bowl has an exploration date, so how long does dried orange garland last?
You’ll be ecstatic to learn that dried orange garland has a shelf life of up to two years! Our suggestion, after the holiday season and you’re taking down your decorations, is to carefully tuck your dried orange garland away and write an expiration date so that way you can always have fresh and lovely holiday decor!
Does Dried Citrus Garland Attract Bugs?
Another great question is Does dried citrus garland attract bugs? Because the last thing we want during the holidays is a hoard of fruit flies moving in!
Rest assured, dried citrus garland does not attract bugs— the coast is clear! No bugs on the guest Christmas guest list!

What is The Meaning of Dried Oranges Garland?
We love the aesthetic of this DIY, but what is the meaning of dried orange garland? Well, the answer lies in a few different perspectives.
Orange slices were commonly used for decoration back in the day for Yule and the Winter Solstice celebration and are also found in Scandinavian culture. It’s believed that the slices represented the sun, love, sweetness, prosperity, and a happy life. We love that!
Oranges, popcorn, and cranberries were also used for holiday decor simply because that was what was available then. And now, it makes for a beautiful, environmentally friendly, and creative Christmas decor alternative to buying plastic/expensive decorations every year.
Supplies Needed for Dried Orange Garland
Now that we’ve got those burning questions squared away, let’s get into the supplies we’ll need for this dried orange garland DIY. Aside from the oranges, of course, we believe you’ll have most of these items!
- Oranges
- Knife
- Wax/Parchment Paper
- Cookie Sheet(s)
- Paper Towel
- Twine/String
- Needle
- Scissors
Let’s get our holiday festive creativity on by putting on a cozy wintery playlist, getting our supplies out, and diving into this fun DIY!

Steps on How to Make Dried Orange Garland
Below, I’ll be walking you through the 5 simple steps of creating your own dried orange garland so that you and your loved ones can enjoy this holiday season.
I’ve also included a neat YouTube video I found that has more natural holiday decor ideas, along with the dried orange garland. What’s so unique about using foods creatively for holiday decor is that they can be composted and placed in the woods to give back to nature. How beautiful is that for the holiday season?
Step One: Cut Thin Orange Slices
Break out the cutting board or work on your surface of choice, and bring your oranges and knife along with you.
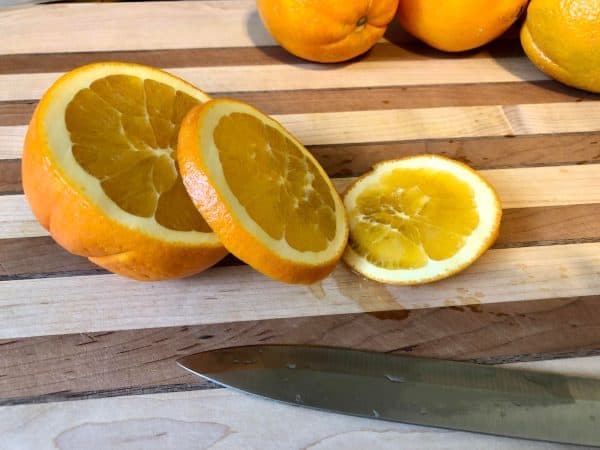
You’ll want to start off by cutting the end off the orange, and then you can begin cutting thin slices.
Although it can be a little tricky to get the slices thin and equal to each other, try your best, and that’s more than enough. Remember, it’s supposed to be fun and merry!
Pro Tip: Start Preheating your oven to 200 degrees while you’re working on getting your orange slices ready. This way, you can go straight to the oven when you’re done!
Step Two: Place Slices on a Lined Sheet & Pat Out Moisture
Once your oranges are sliced, take your wax/parchment paper and line the cookie sheets you’ll use.

For our dried orange garland DIY, four oranges sliced up fit onto two cookie sheets! But this may depend on how thin your slices are and if a few of your slices didn’t work out (Guilty!).
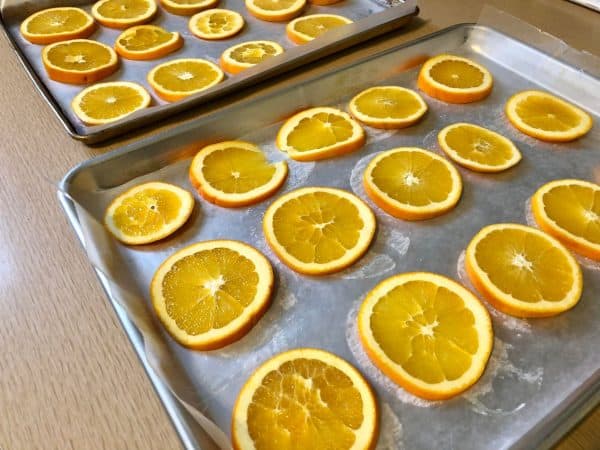
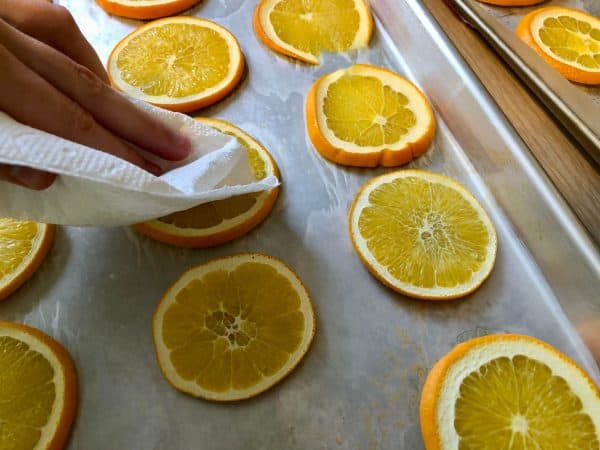
After you’ve placed the orange slices onto the lined sheets, take some paper towel and dab the juice out of each orange slice. This will help your oranges dry out faster while they’re sunbathing in the oven.
Step Three: Bake at 200 Degrees for 5 Hours
After you’ve dabbed away, you can put your cookie sheets full of future dried orange garland slices into the oven and set a timer for 5 hours.
We know that’s a very long time, so we suggest checking in on your orange slices because they may dry out faster depending on how much juice you got out and how thin your slices are. In the video we shared earlier in this article, it’s also suggested to turn over the orange slices every 60 minutes or so, which can also help the slices in their drying journey.
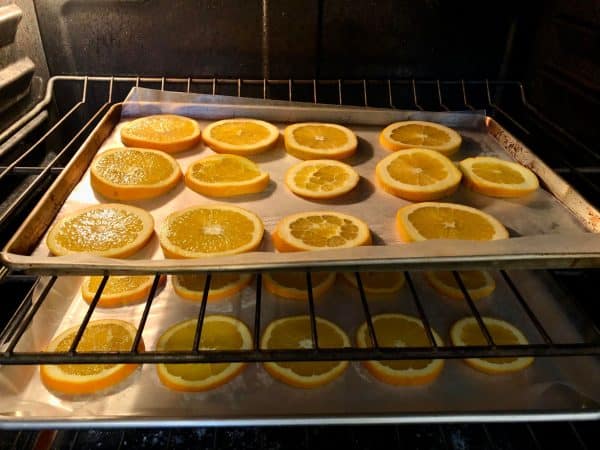
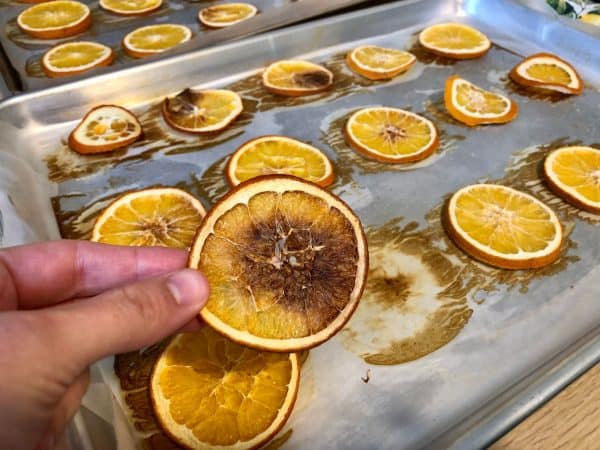
Either way, be sure to check in on your orange slices and make sure they aren’t browning or getting burnt. Remove slices as they start to dry out/brown.
Step Four: Take a Needle/Thread and Lace Through Slices
While you’re waiting for your orange slices in the oven, you can work on other Holiday Ornament Crafts or Holiday DIYs! Why, you can even throw on your favorite Christmas movie or have some cookies. The festivities are up to you!

After your orange slices are completely dry and cooled off a bit, you can prepare your thread and needle.

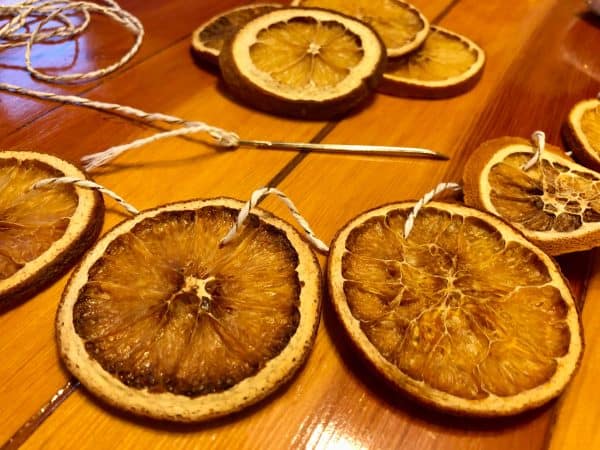
Using your threaded needle, poke a hole within the upper part of the orange, not the peel, and pull your thread through.
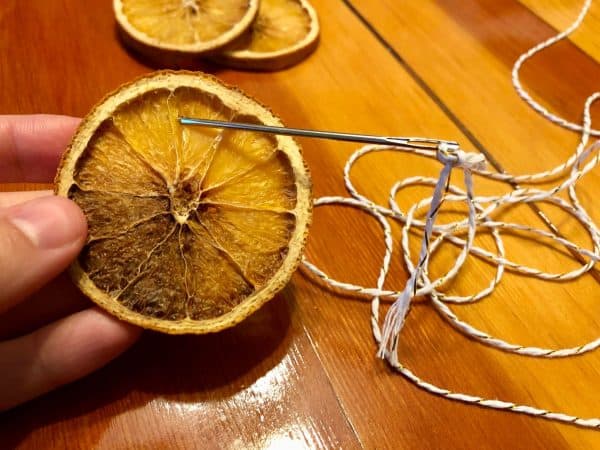
Continue to do this until you have all your dried orange slices in a row on a beautiful string.
Step Five: Hang Up the Dried Orange Garland & Enjoy for Up to 2 Years!
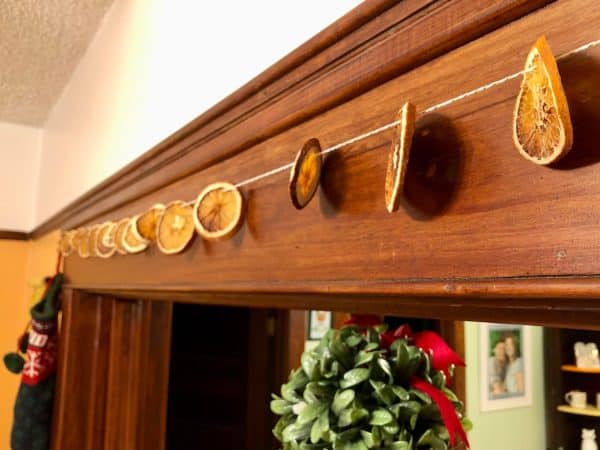
And for the final step, choosing where to hang this gorgeous dried orange garland! You can drape it around your tree, hang it with your wreath, or up along the wall like a banner. Wherever you decide to hang your delightful dried orange garland, it’s sure to bring a spark of joy to your room.

One of the best parts of dried orange garland, I mean, besides being so aesthetically pleasing and adorable, is that you can use it for up to 2 years! What a shelf life! You can also use your dried orange garland outside of the holidays; who doesn’t love seeing dried orange garland? It’s a pretty good conversation starter.
Dried Orange Ornaments
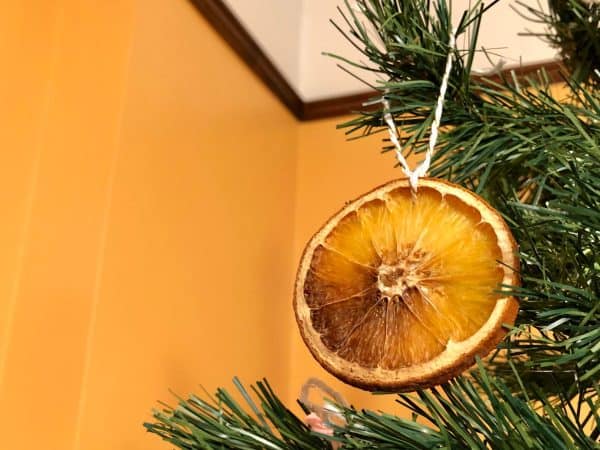
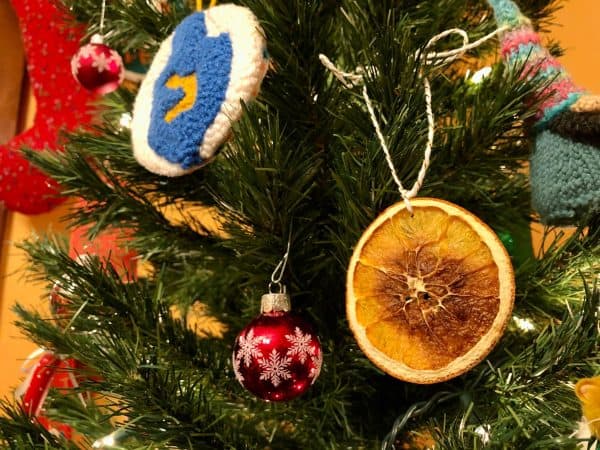
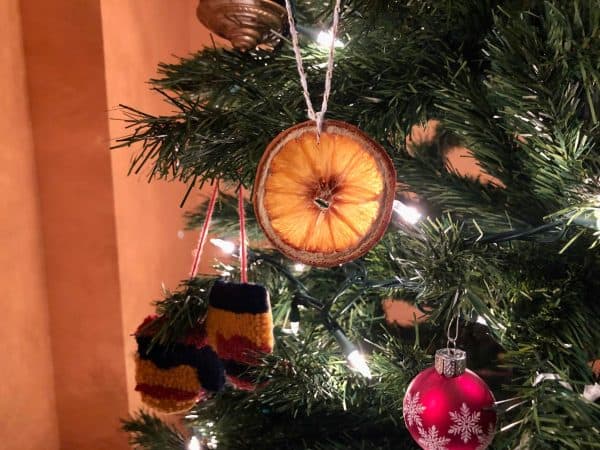
If you have a few extra dried oranges from your dried orange garland, you can repurpose them into homemade ornaments!
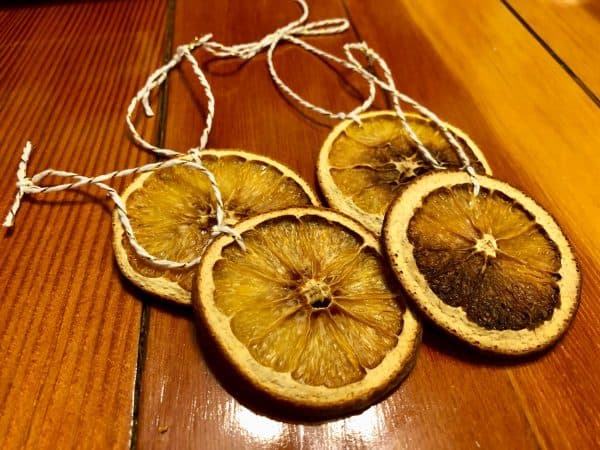
You can follow the same steps of poking your threaded needle through the orange, and we suggest tying a knot at the top of the orange as well as a loop for hanging.
We here at Repurpose Junkie absolutely adore DIY craft projects like the dried orange garland because it’s budget-friendly, it’s sweet, timeless, and very Hygge! What’s Hygge, you may ask?
Hygge is the lifestyle of being cozy, in a nutshell. Doing things that take time and passion is at the top of the hygge list, and we think dried orange garland definitely makes the hygge cut!
Want to have some more hygge fun like our dried orange garland? Check out our special Hygge section! A big and happy holiday to all of you repurpose junkies!
